ID: 2011748693 | Updated: Sep 10, 2024

Product Details

Split Effect Vinyl Record & Cover Mockup v.9

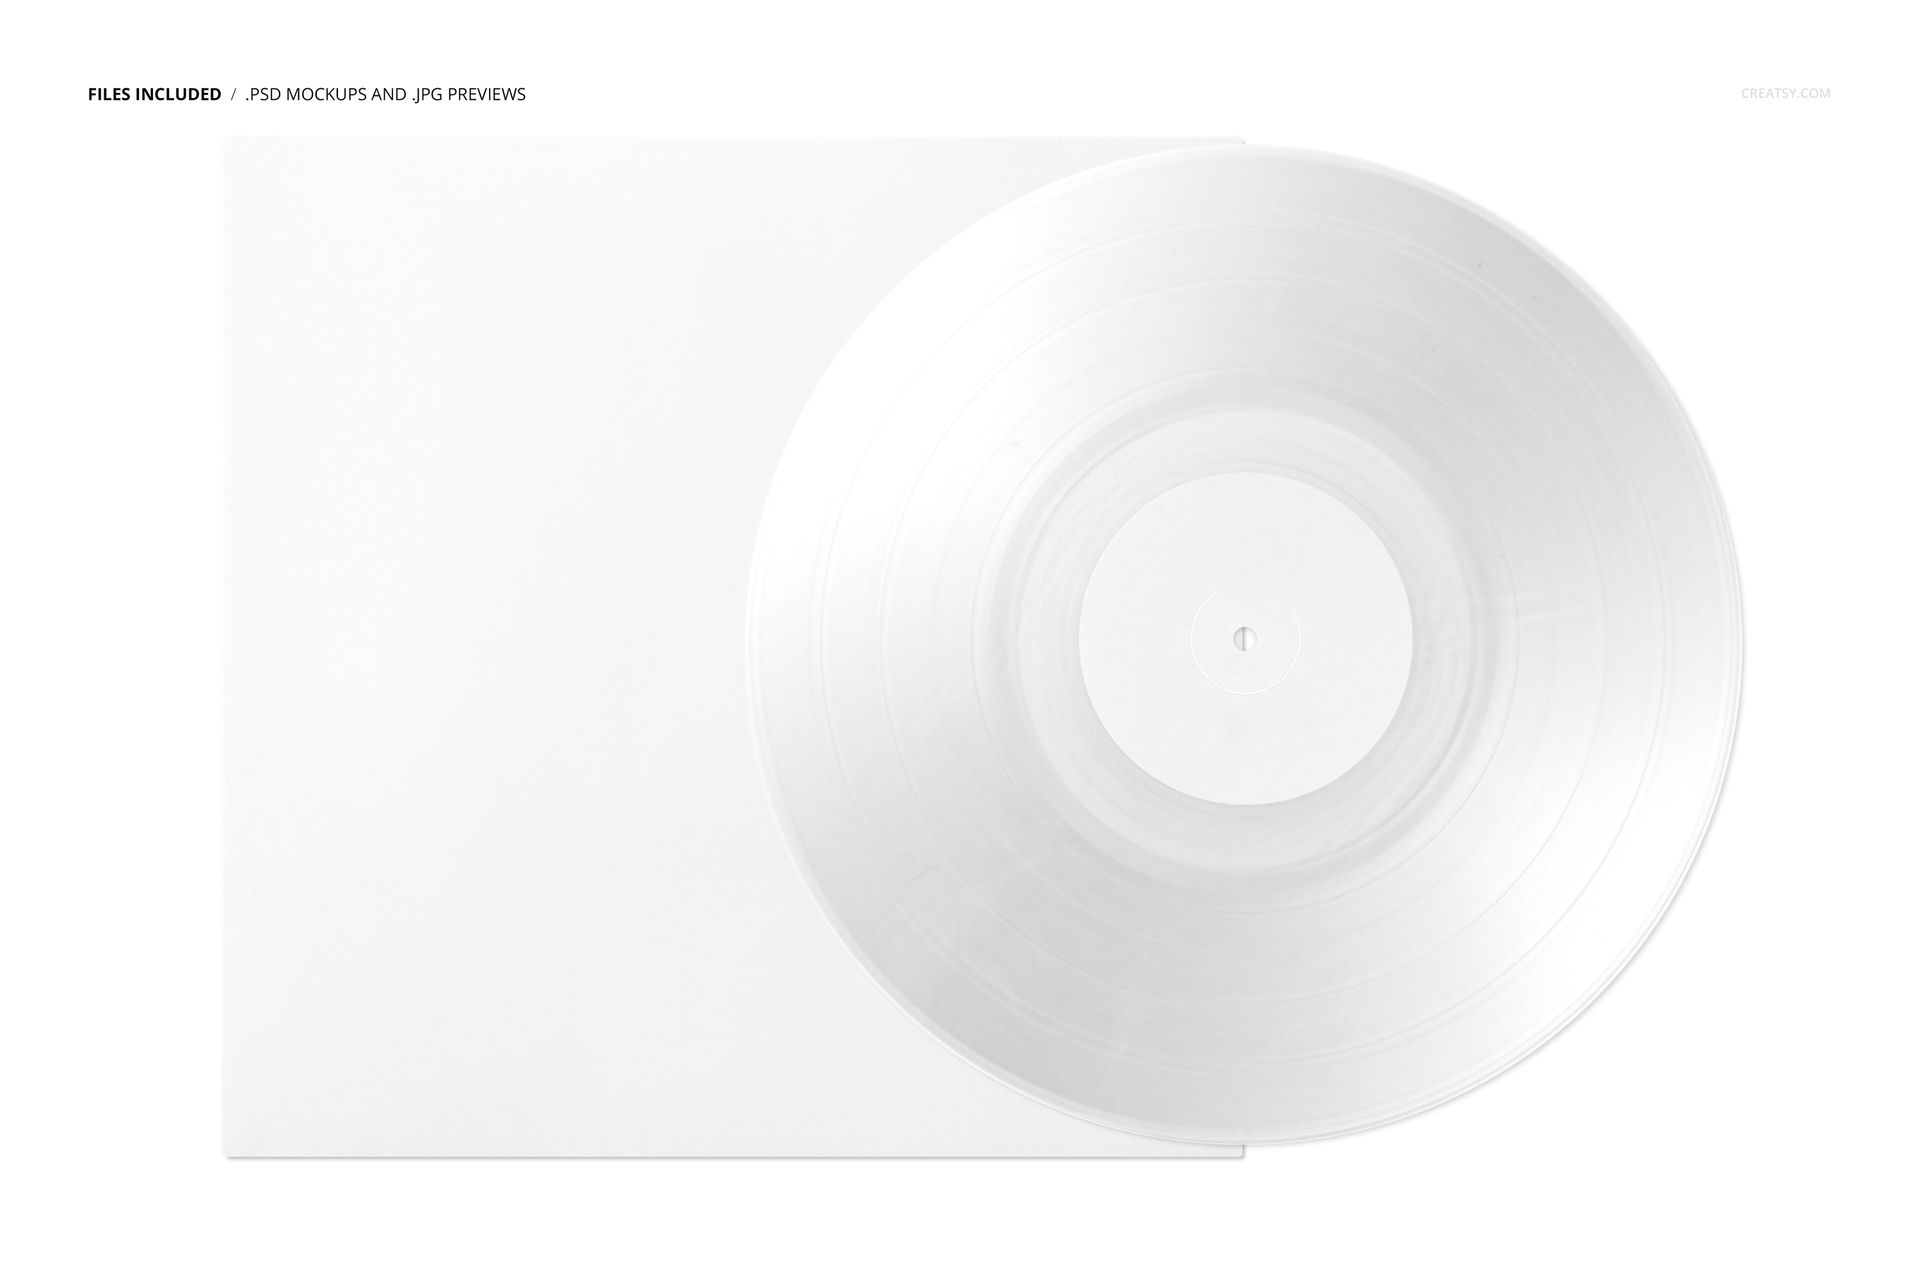
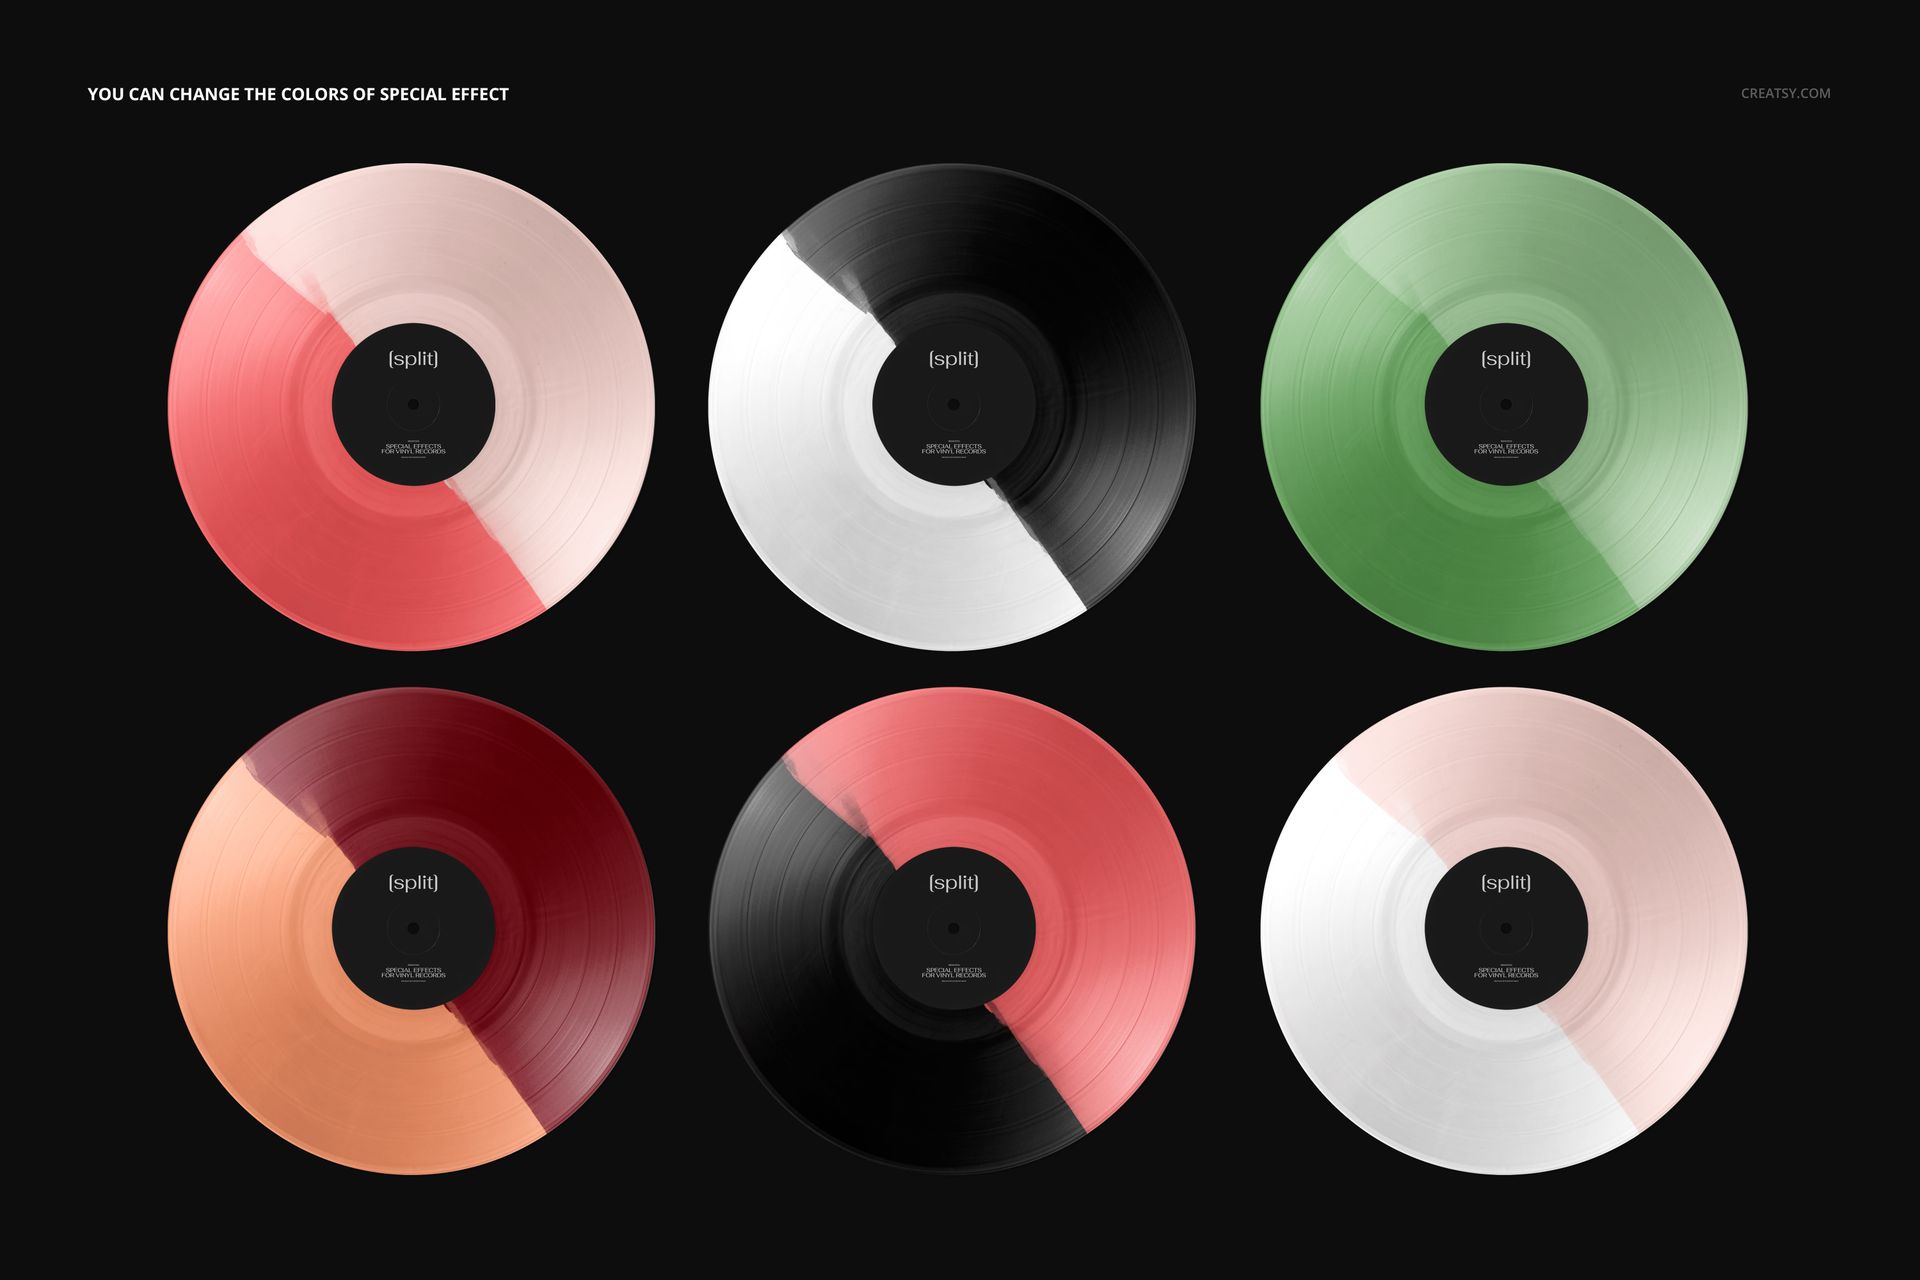
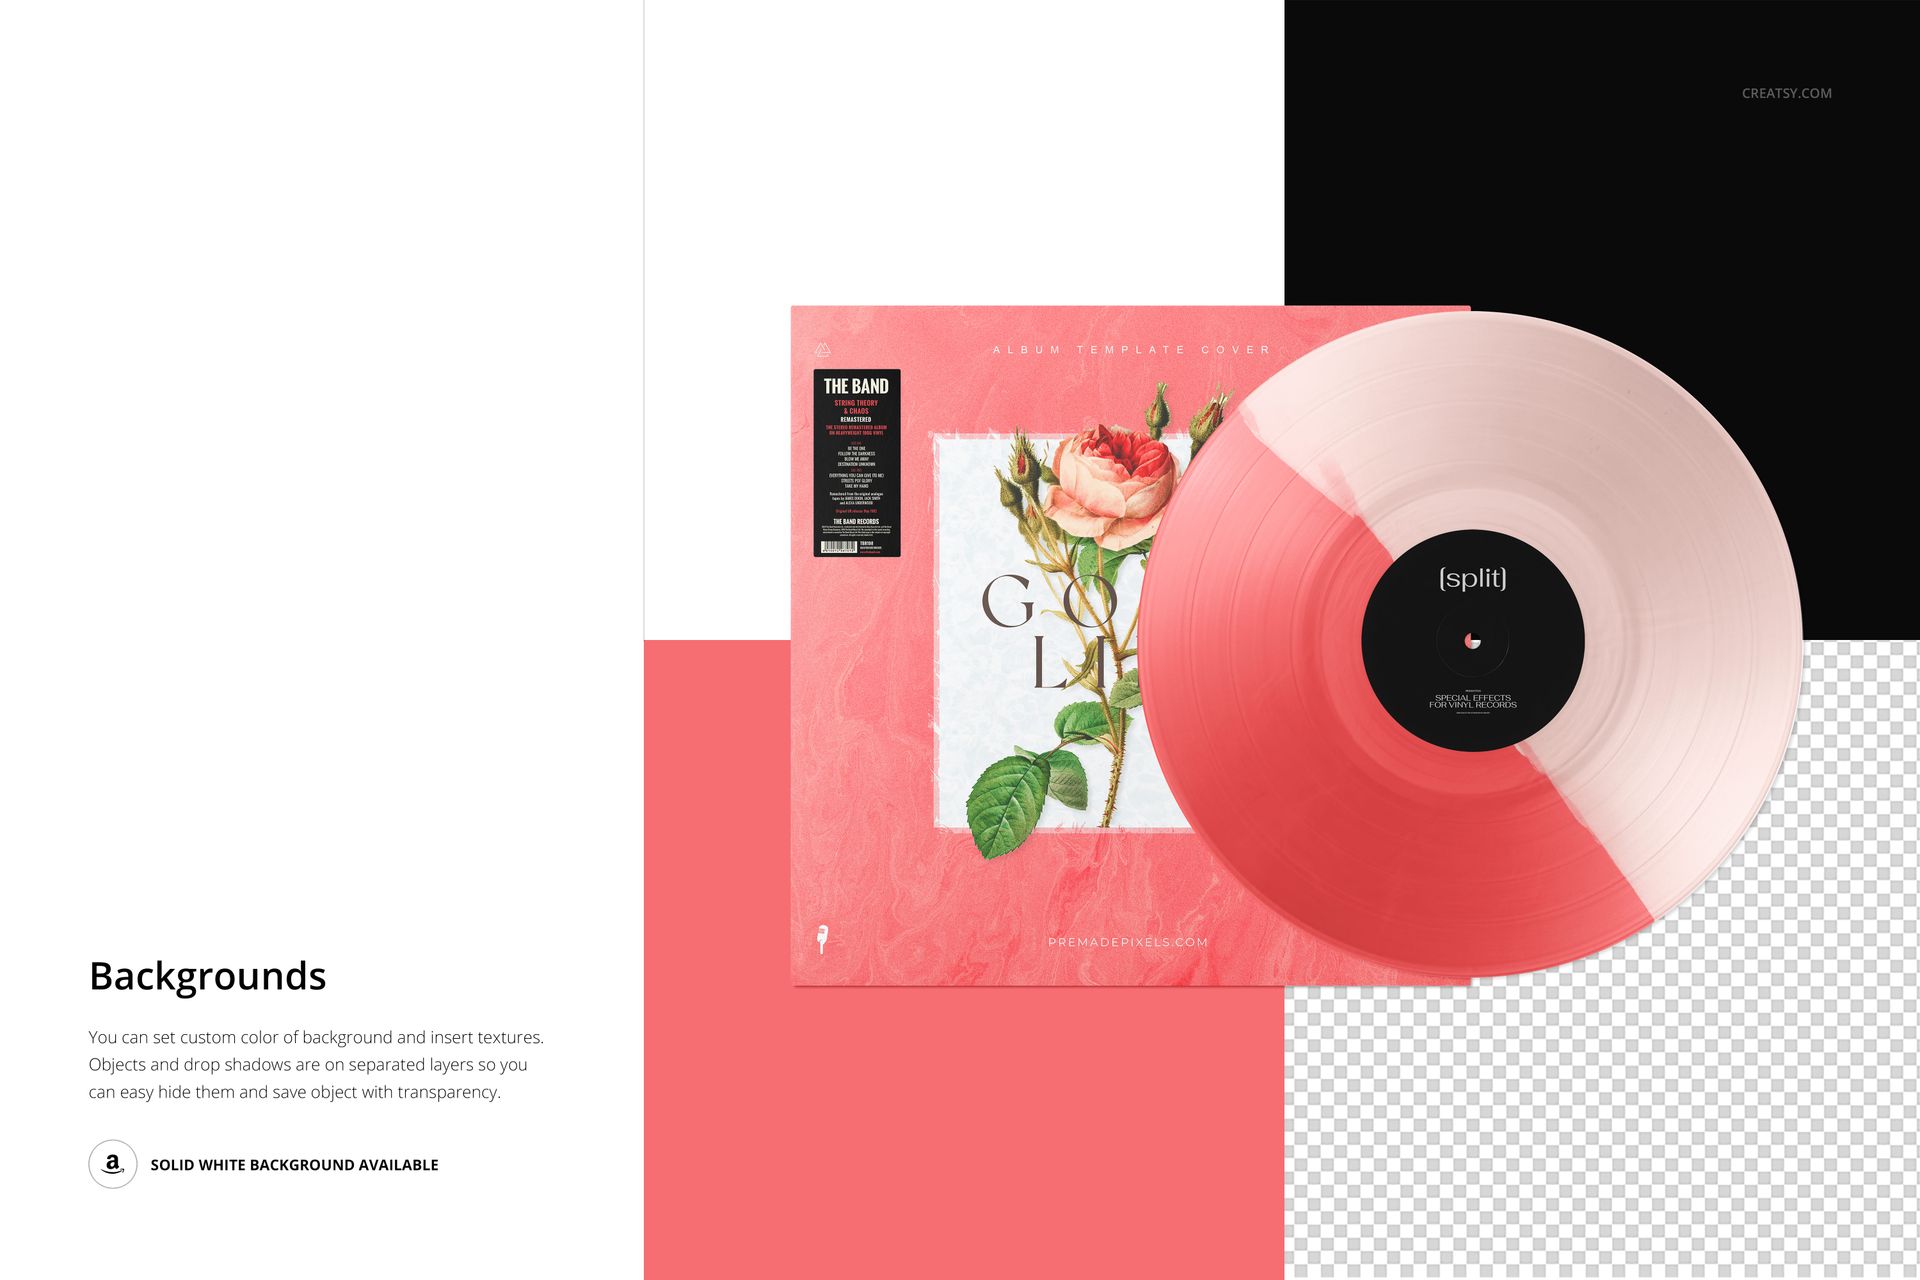
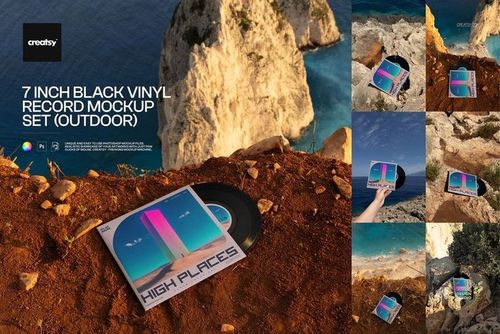
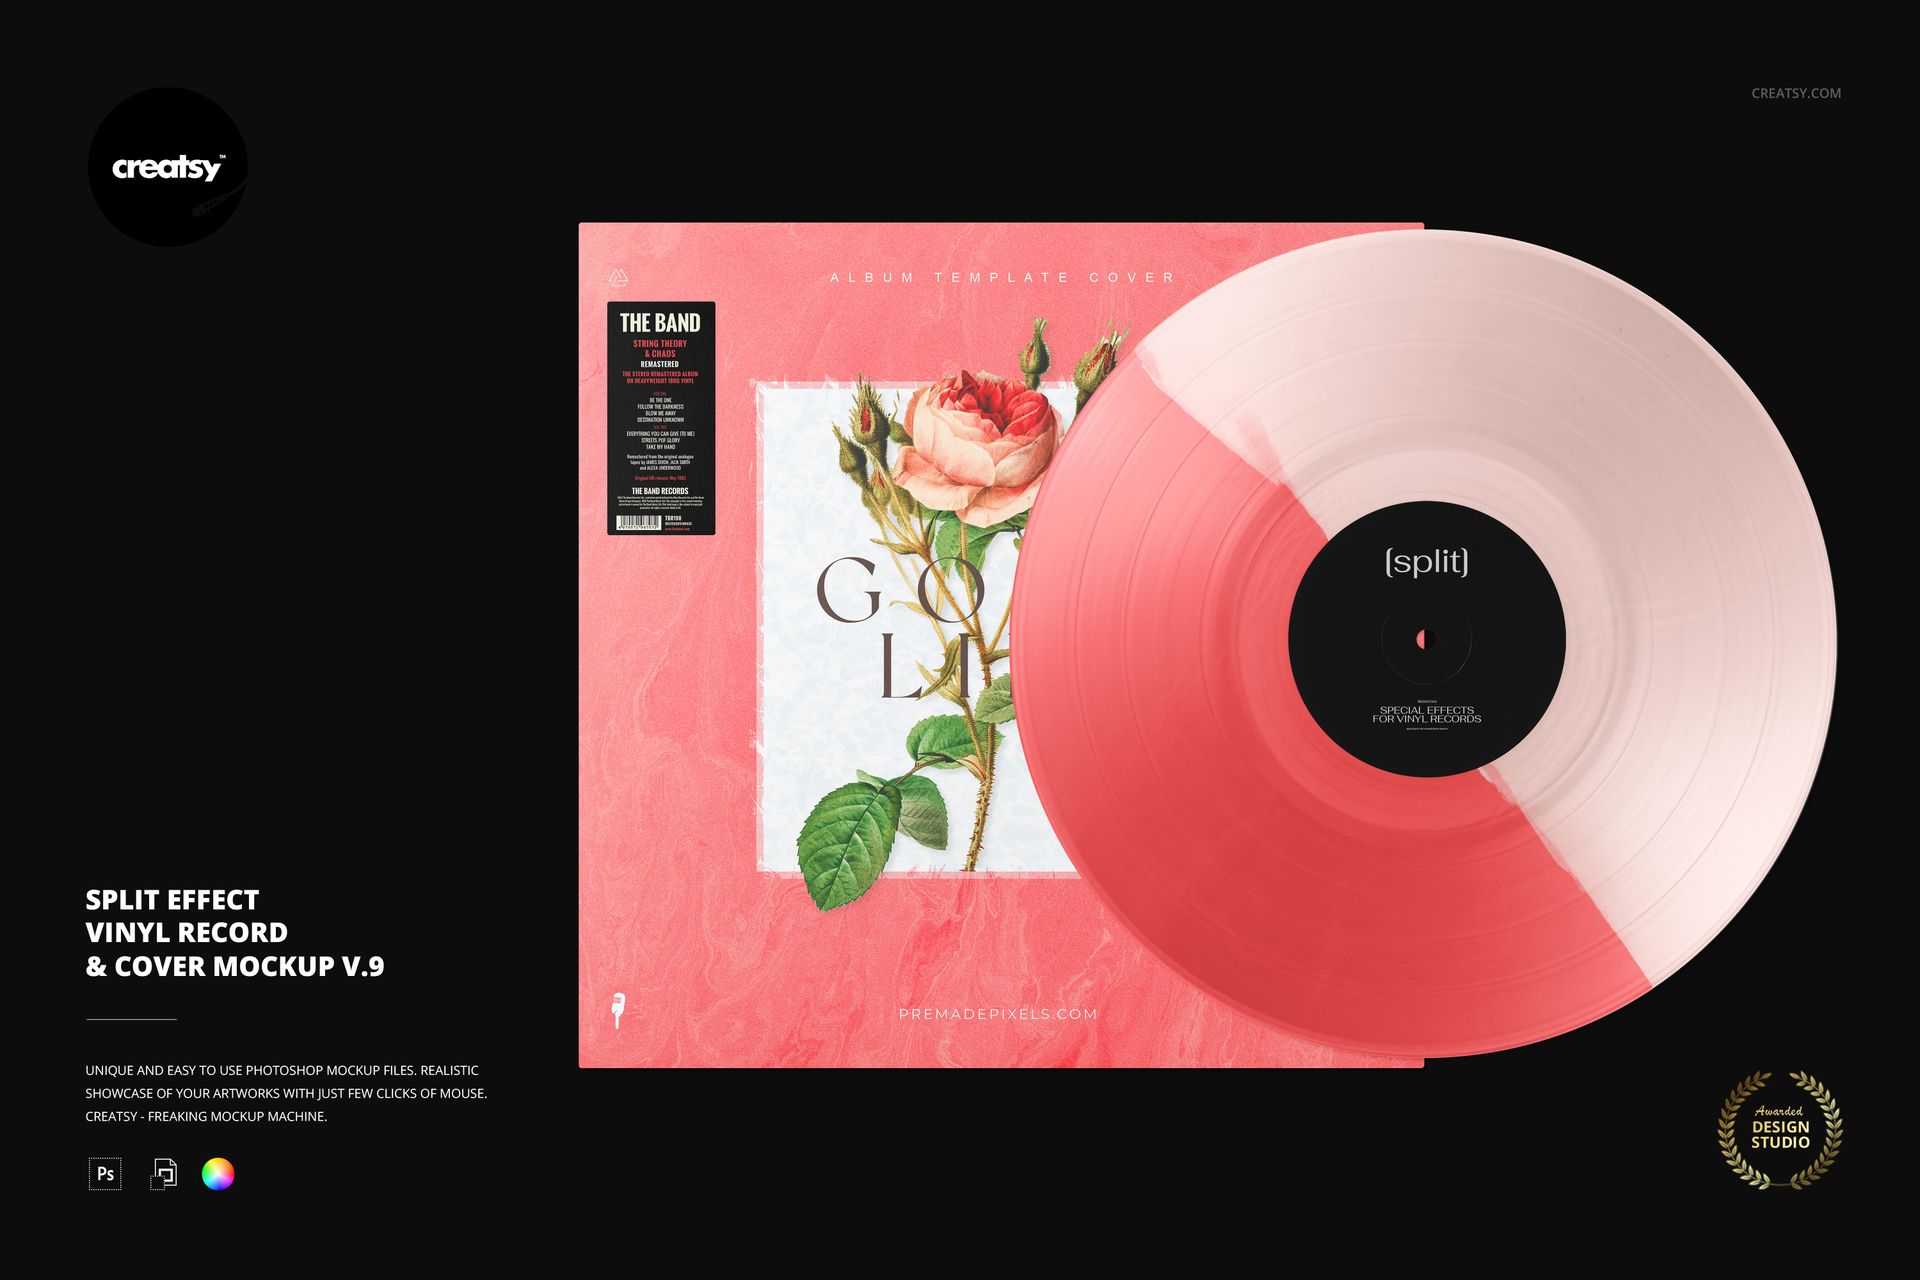
Two broad color areas meet on a diagonal in this split effect vinyl record mockup. Version 9 presents the disc in front of its square sleeve, with a softly irregular transition between the colors and no splatter pattern. It is a focused way to show how a two-tone record can extend the palette of an album cover.

Included in the Download

  • 1 layered PSD, 6000 × 4000 px at 300 DPI.

  • 1 JPG preview and 1 PDF user manual.

  • 6 Oswald OTF font files, bringing the total to 9 files.

A Diagonal Split with Editable Colors

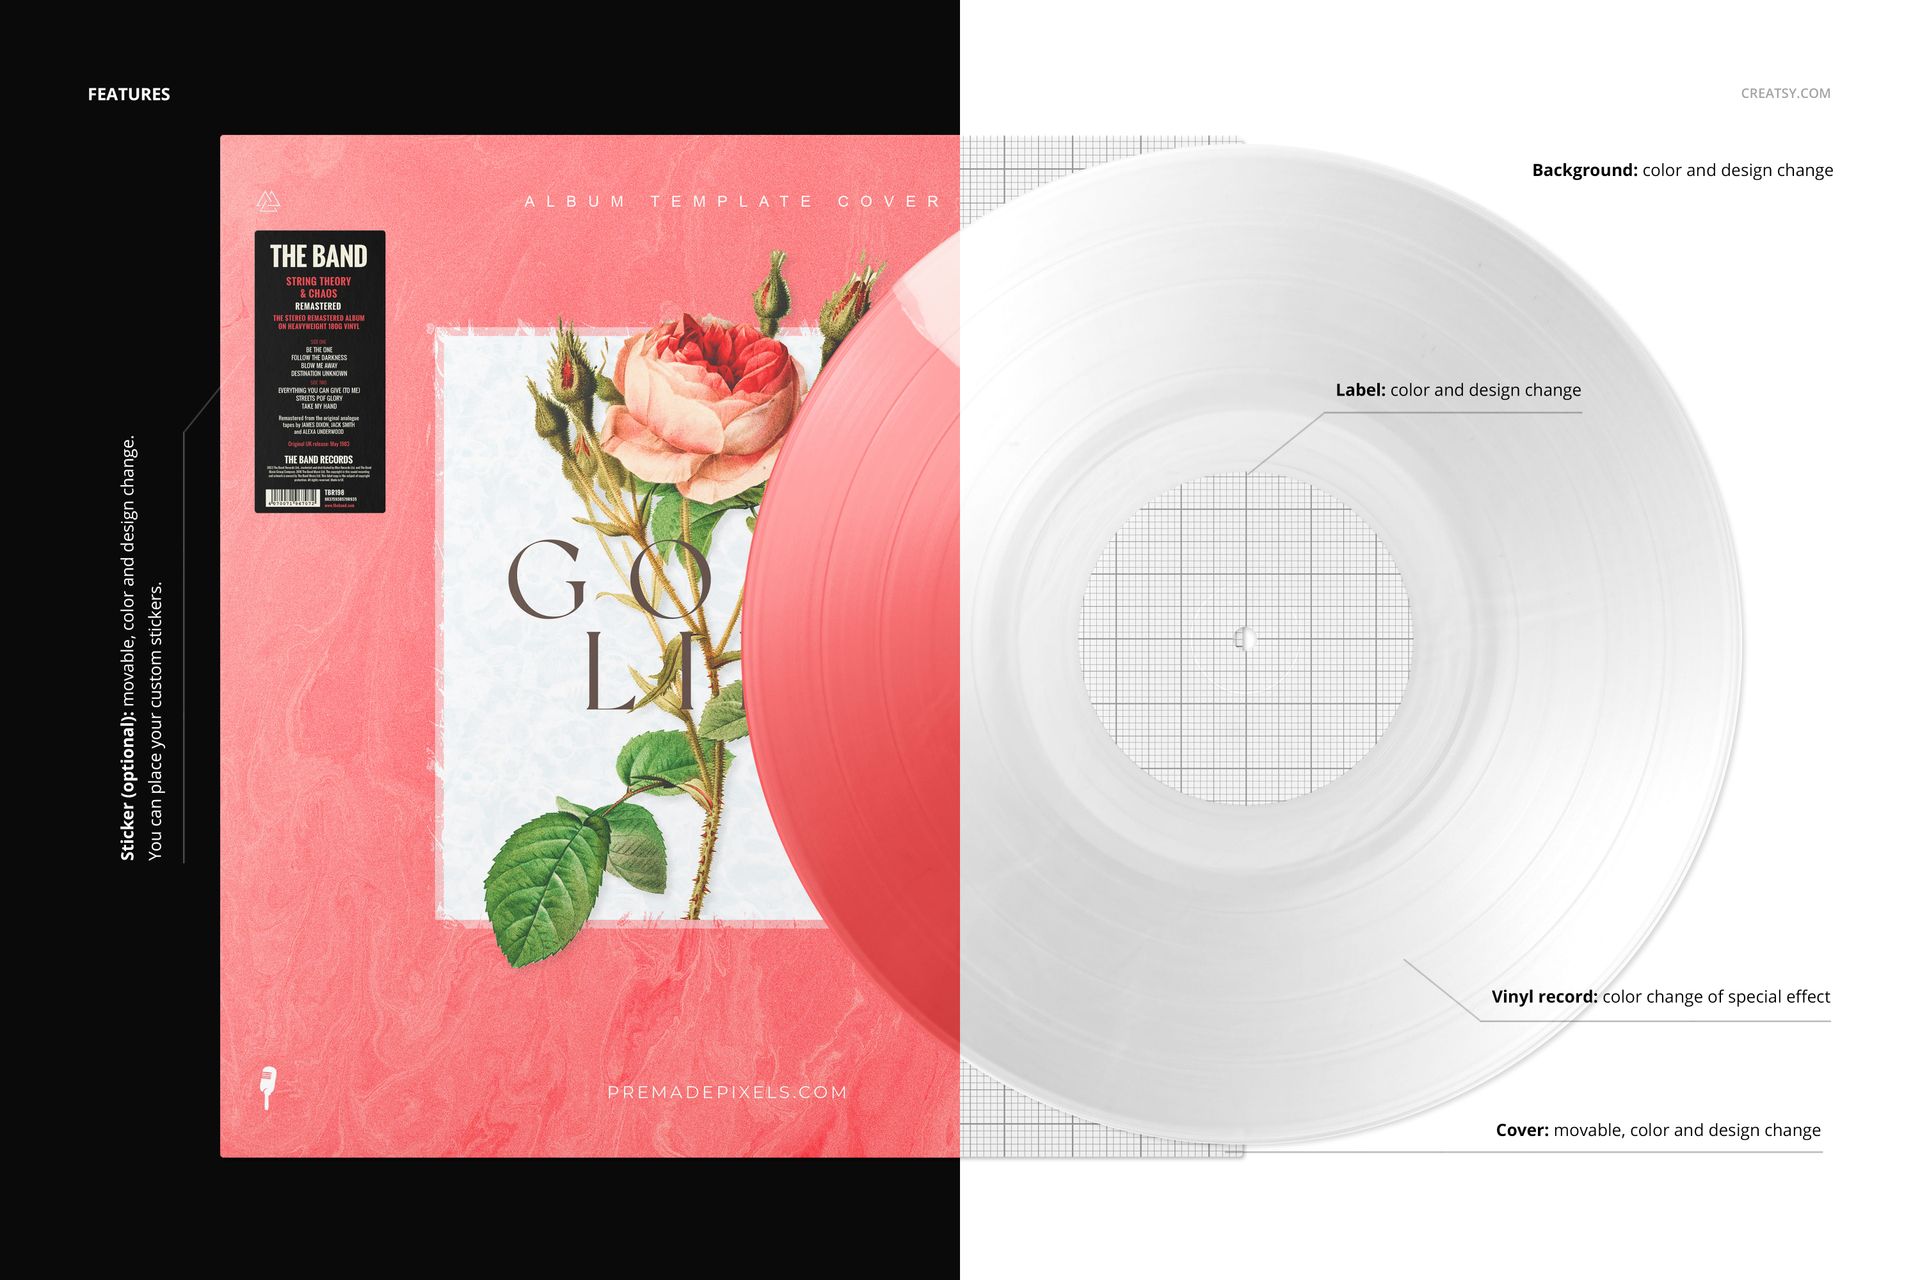
Customize the effect colors, center-label artwork and sleeve design. The cover can be moved, and the optional sticker can be repositioned, recolored or replaced with your own design. The diagonal division adds a clear direction to the composition without the busier texture of a splatter treatment. Use a strong contrast for a bold concept or closely related tones for a subtler result.

Build Your Release Visual

Open the organized PSD in Adobe Photoshop CC2020 or newer, or edit it in Photopea. Refer to the supplied manual, add your artwork and choose a background color or texture. Objects and shadows are on separate layers for presentations with transparency. Use the finished scene for label discussions, sleeve-design portfolios and album promotion. This is a digital mockup, not a physical vinyl record or a manufacturing template. Sample artwork is not included.

File details

Compatibility
PhotopeaAdobe Photoshop
Package size
134 MB134 MB|140 MB140 MB
Files type
.psd, .jpg, .pdf
Files size
6000x4000
TEST FOR FREE

MEET THE SHOP

Creatsy logo

Creatsy

Poland
4.8 (691)

Bring your ideas to life.

We're a family-run studio in Katowice, Poland, making PSD mockups by hand since 2016. Everything in this shop starts in our own studio. We shoot the photography, build the 3D, and put together every Smart Object PSD ourselves - then we test it, organize the layers, and only ship it once it actually works...
GO TO SHOP

HOW IT WORKS

3 clicks. That's it.

No tutorial needed. If you can copy-paste, you can use this.

  1. 1OpenDouble-click the smart object inside the PSD - in Adobe Photoshop, or free in your browser with Photopea.
  2. 2PasteDrop in your pattern, print, or artwork. Any design, any style.
  3. 3SaveHit save and the mockup wraps it in for you - shadows, folds, and lighting included.

FROM IDEA TO IMAGE

Built for real workflows

Skip the photo shoot Show your artwork on the real product type for approvals or listings - no studio, no model, no sample.

See it on the product, not a swatch Drop your file into the smart object and the scene's lighting and folds wrap around it, so you judge the real thing before you commit.

Smart Objects

Edit once and you're done. Your artwork drops into a smart object and the mockup updates itself - no masking, no warping by hand.

Perfectly Organized

Named layers and folders you can actually navigate. Find what you need, change what you want, and get out fast.

Print-Ready

High-resolution files built to hold up on screen and in print. Exact size and DPI are in this product's Details above.