ID: 2006374741 | Updated: Sep 16, 2024

Product Details

Multi-color Segments Effect Vinyl Record & Cover Mockup v.2

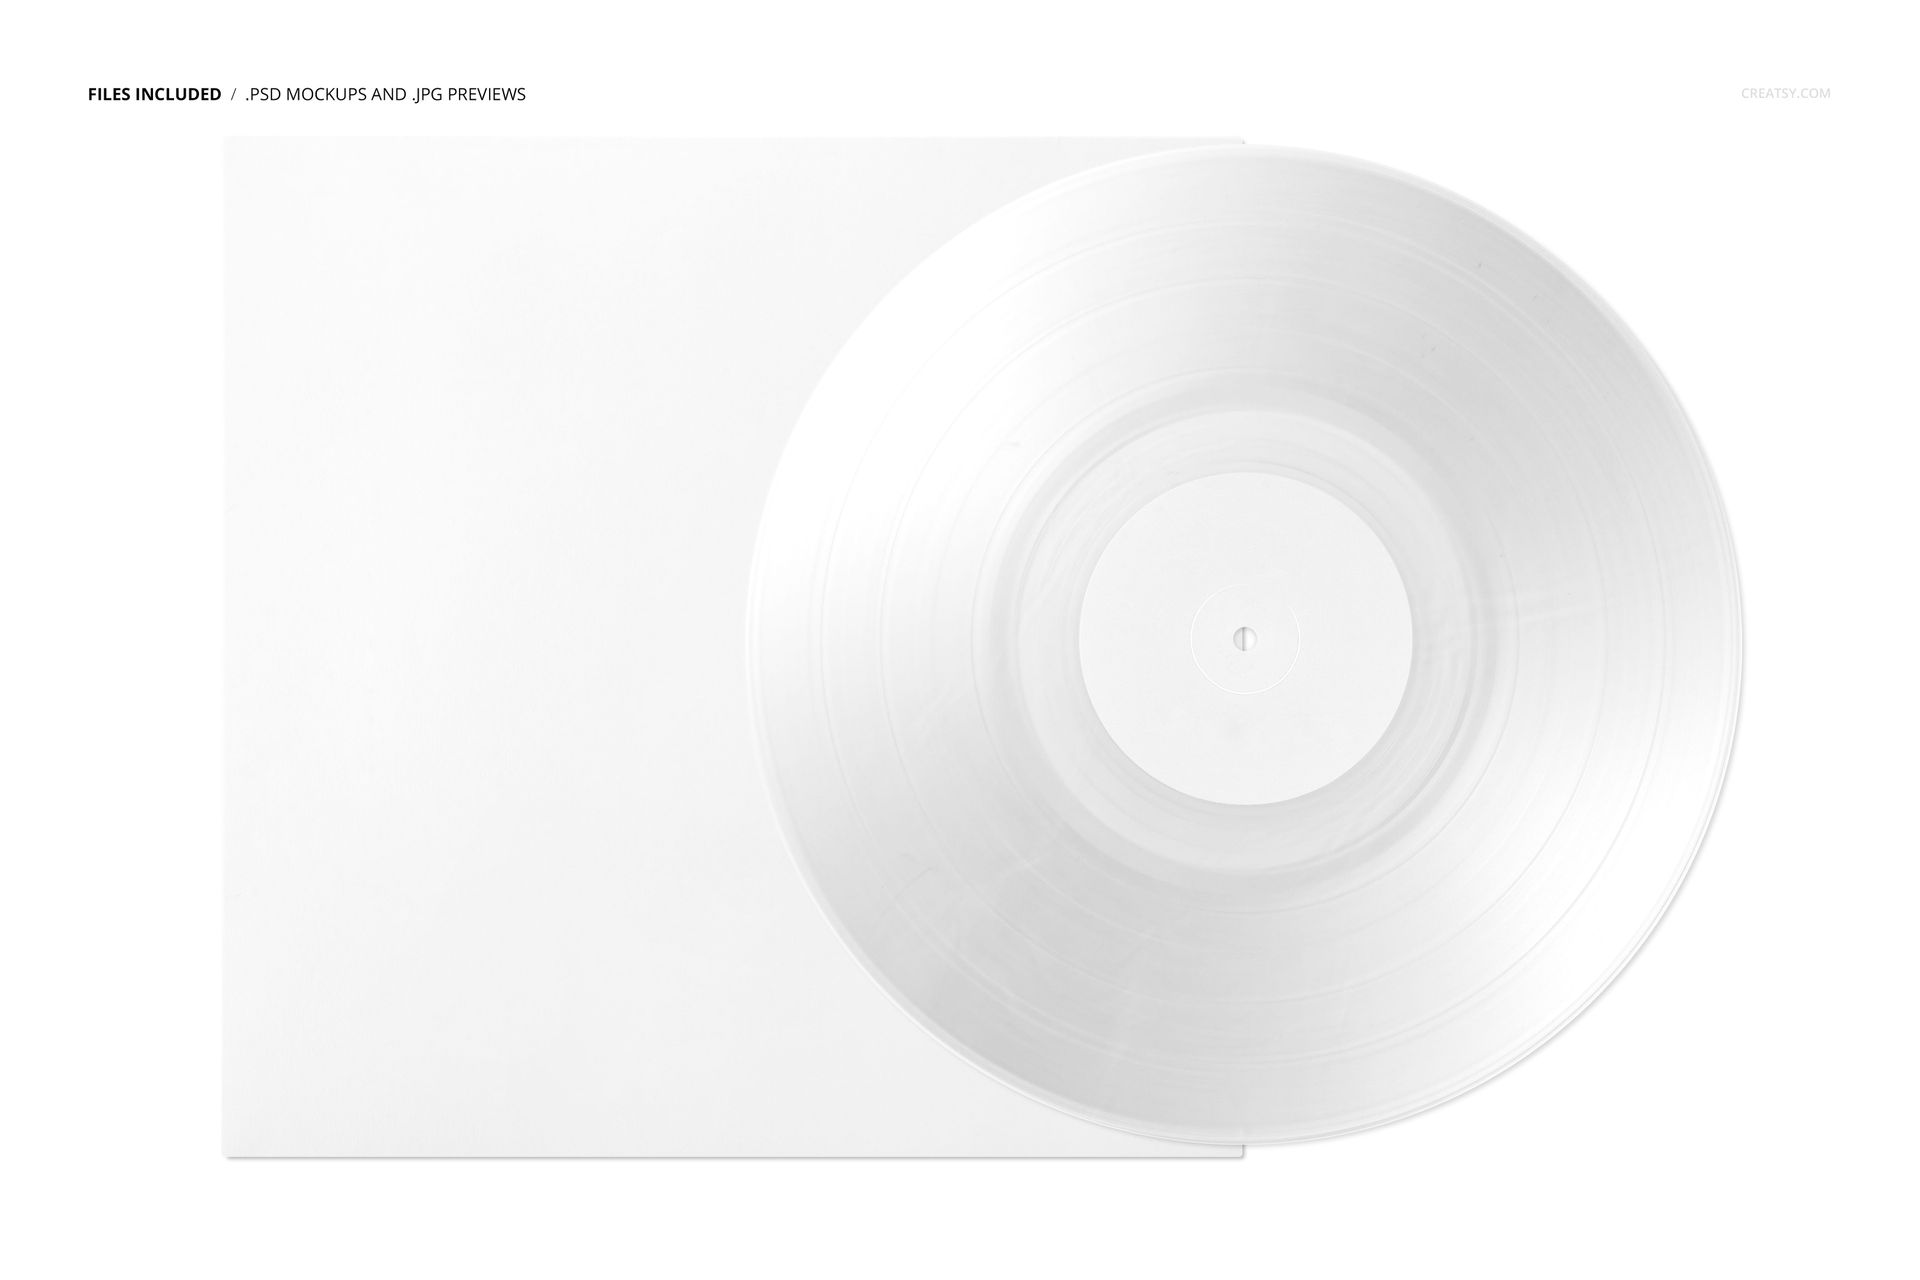
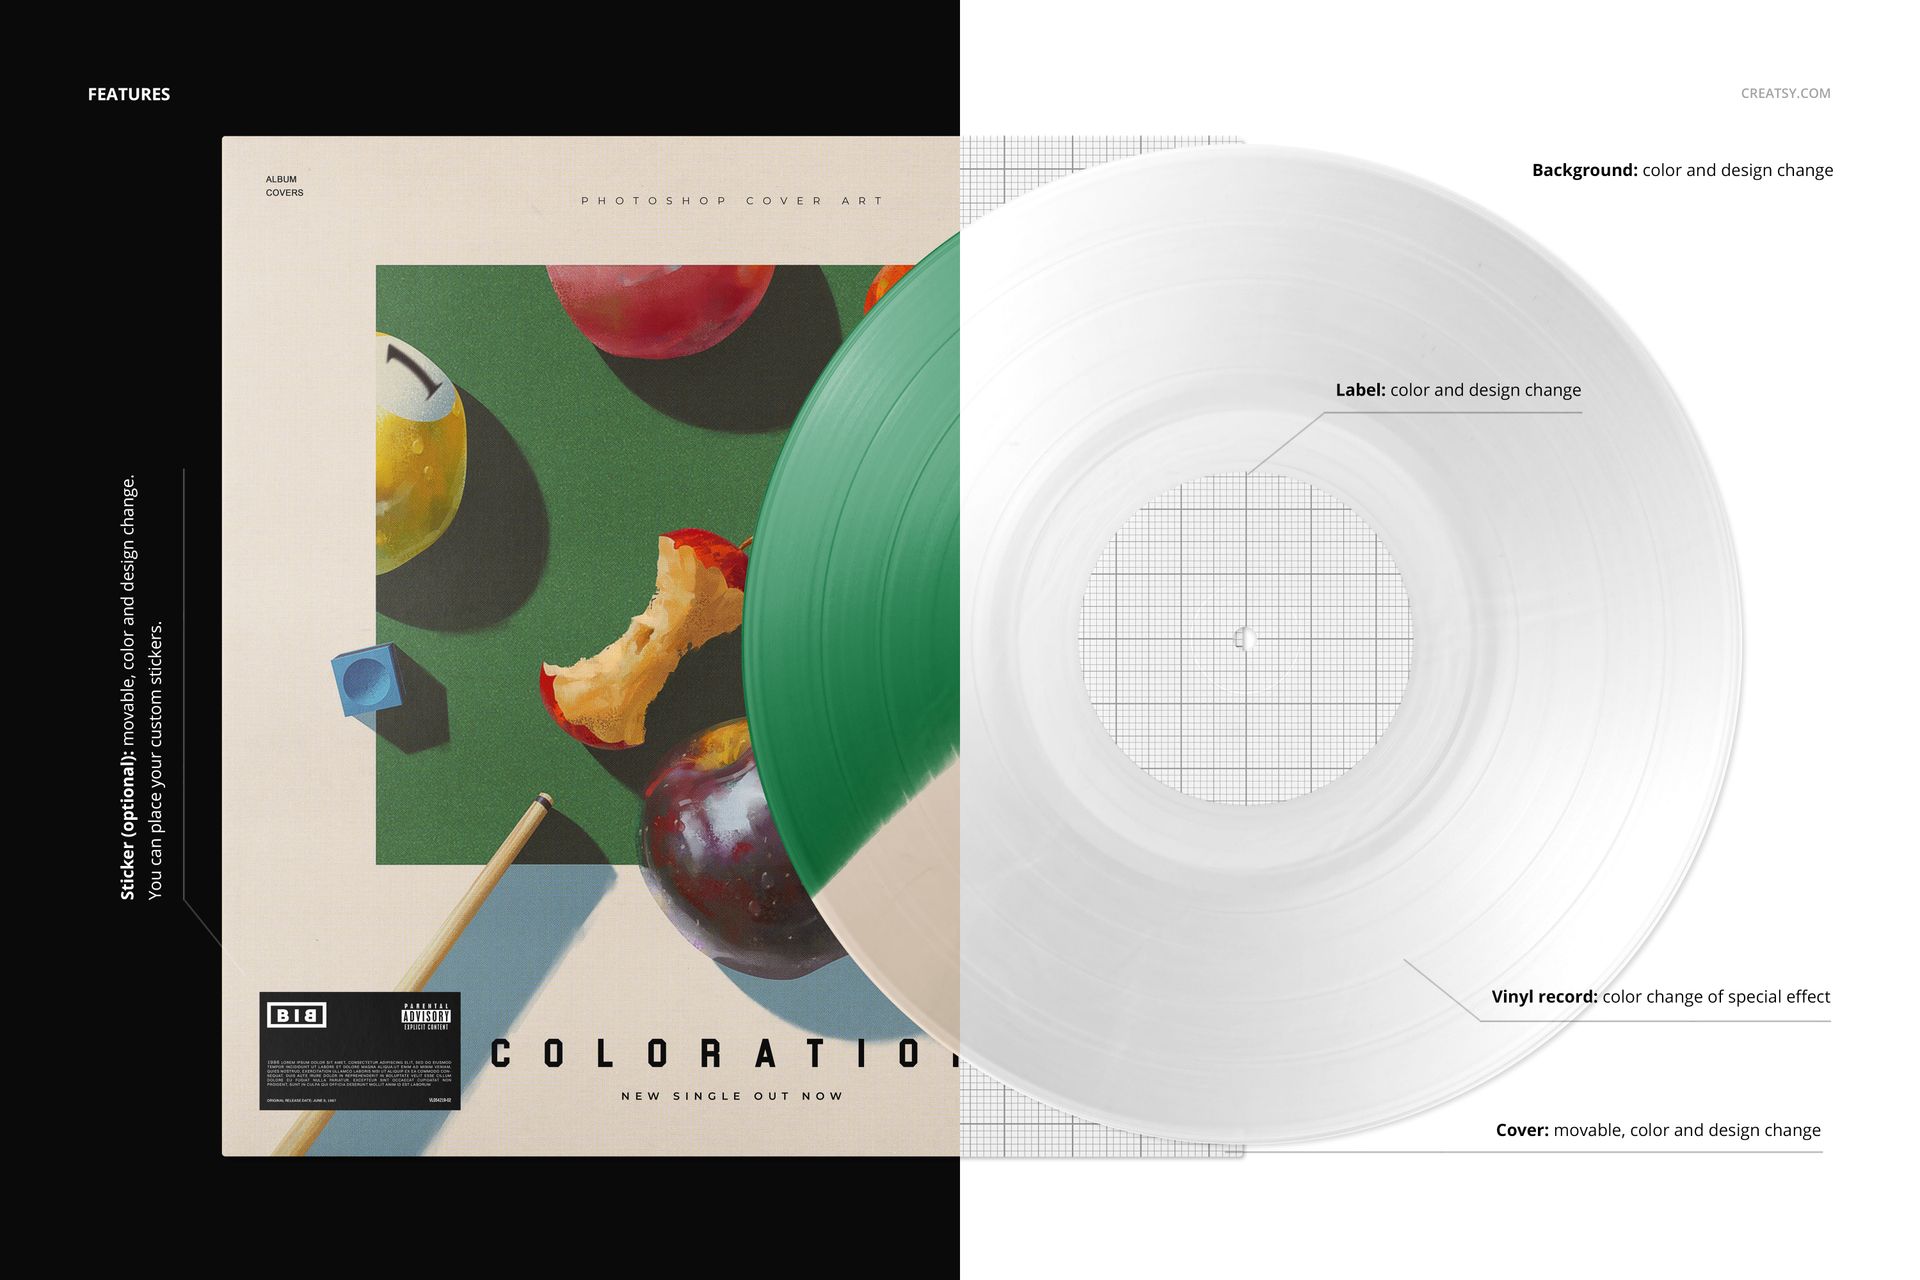
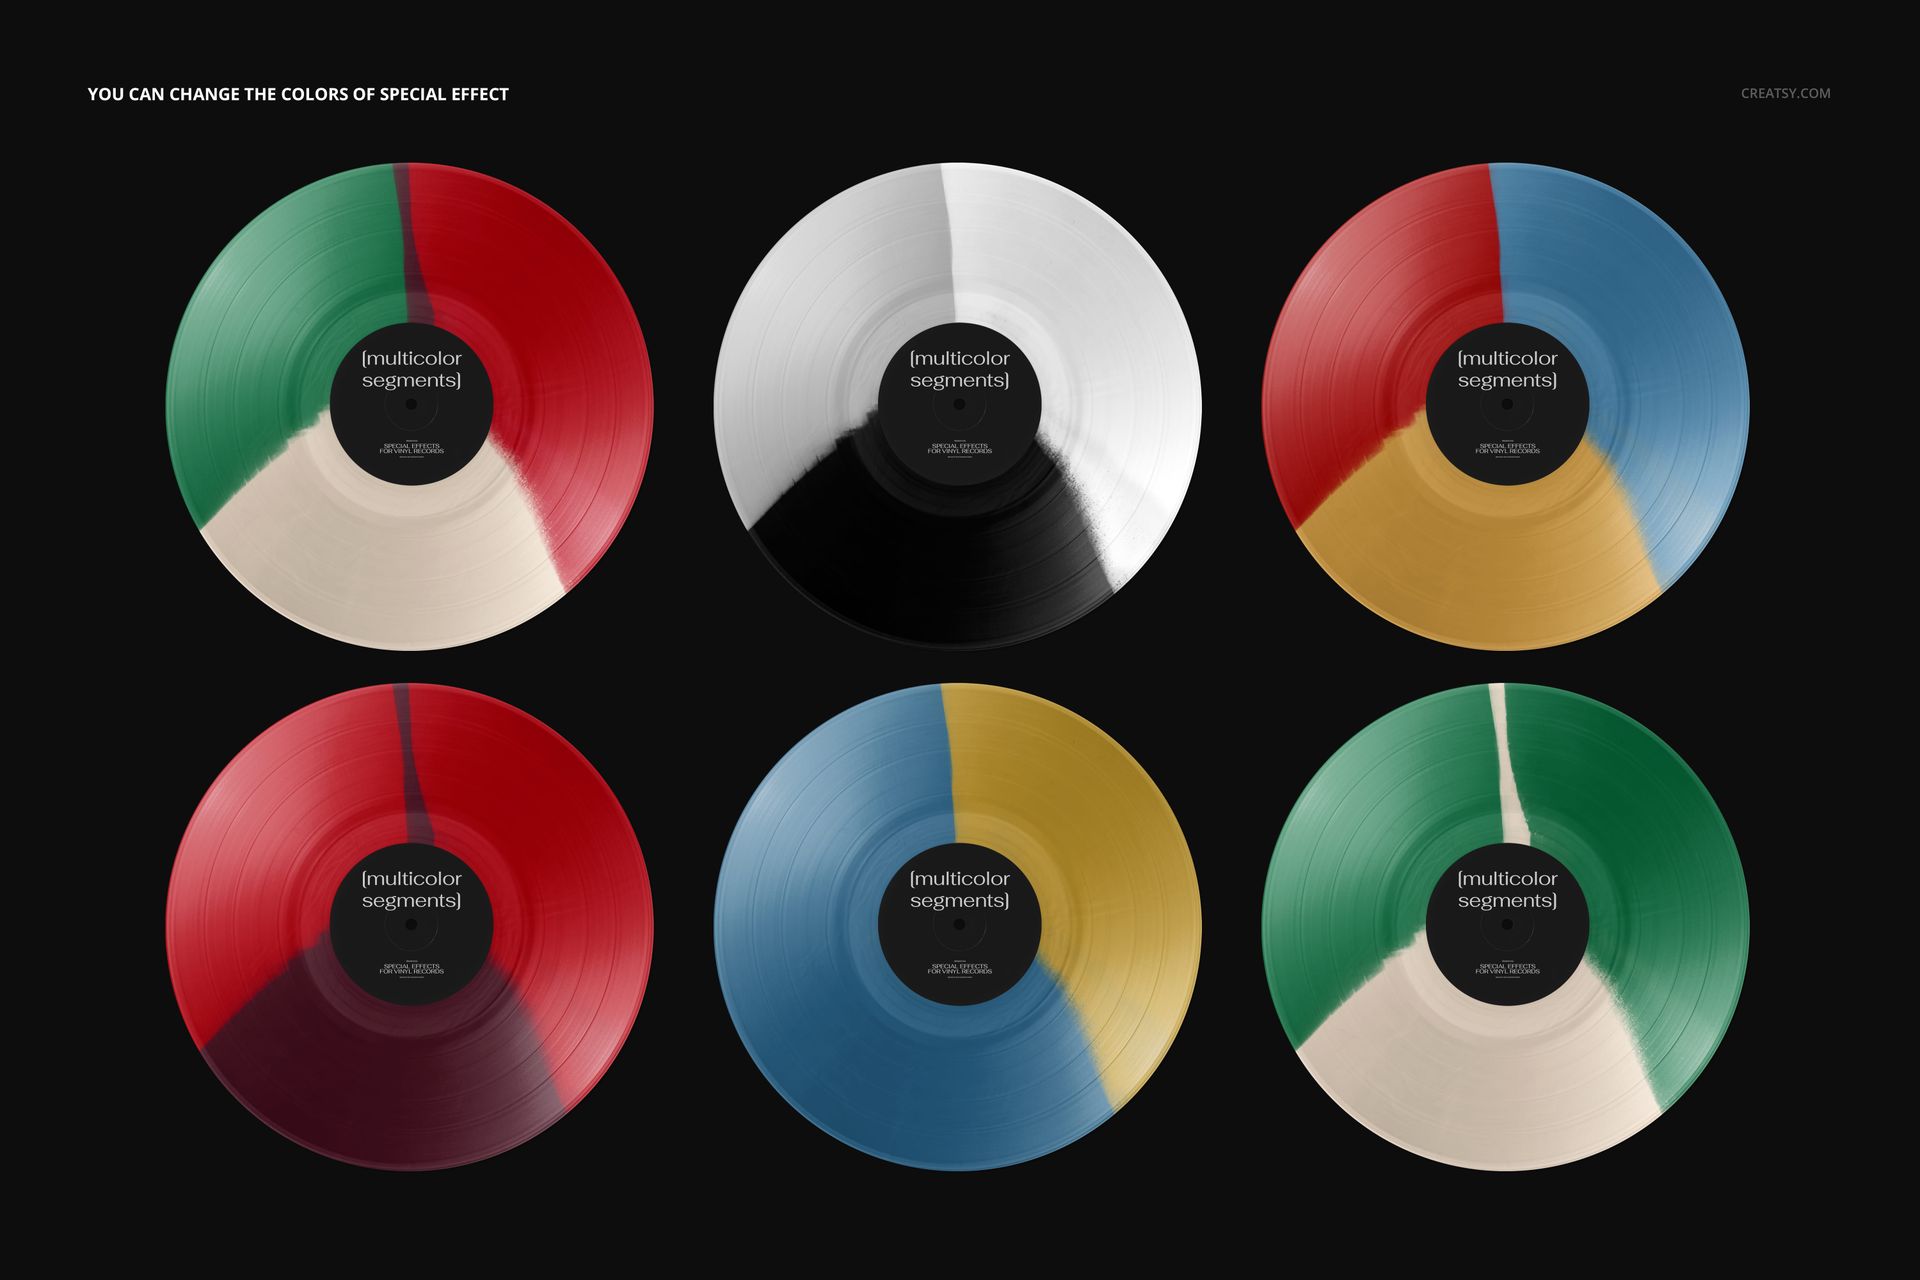
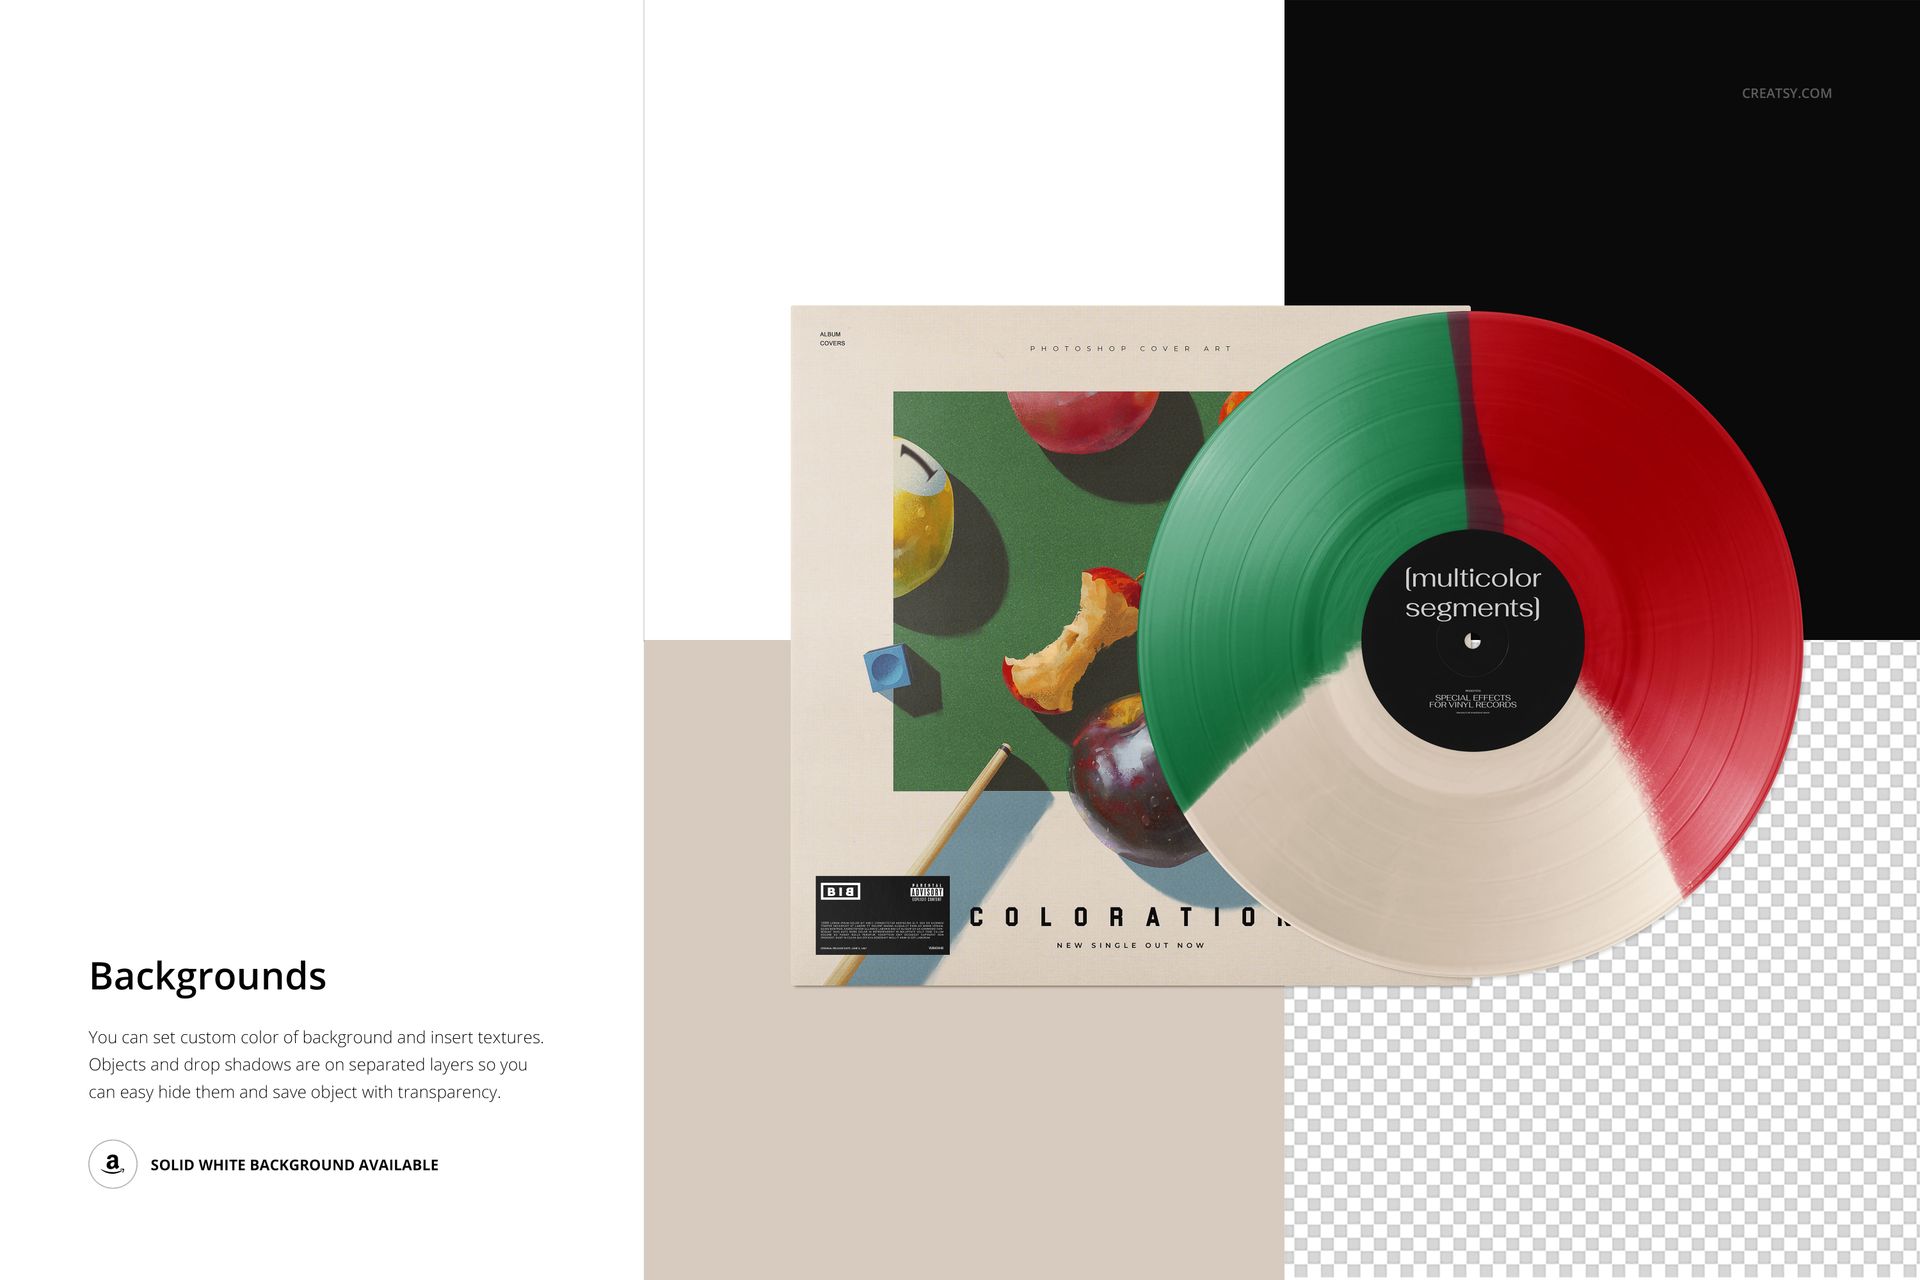
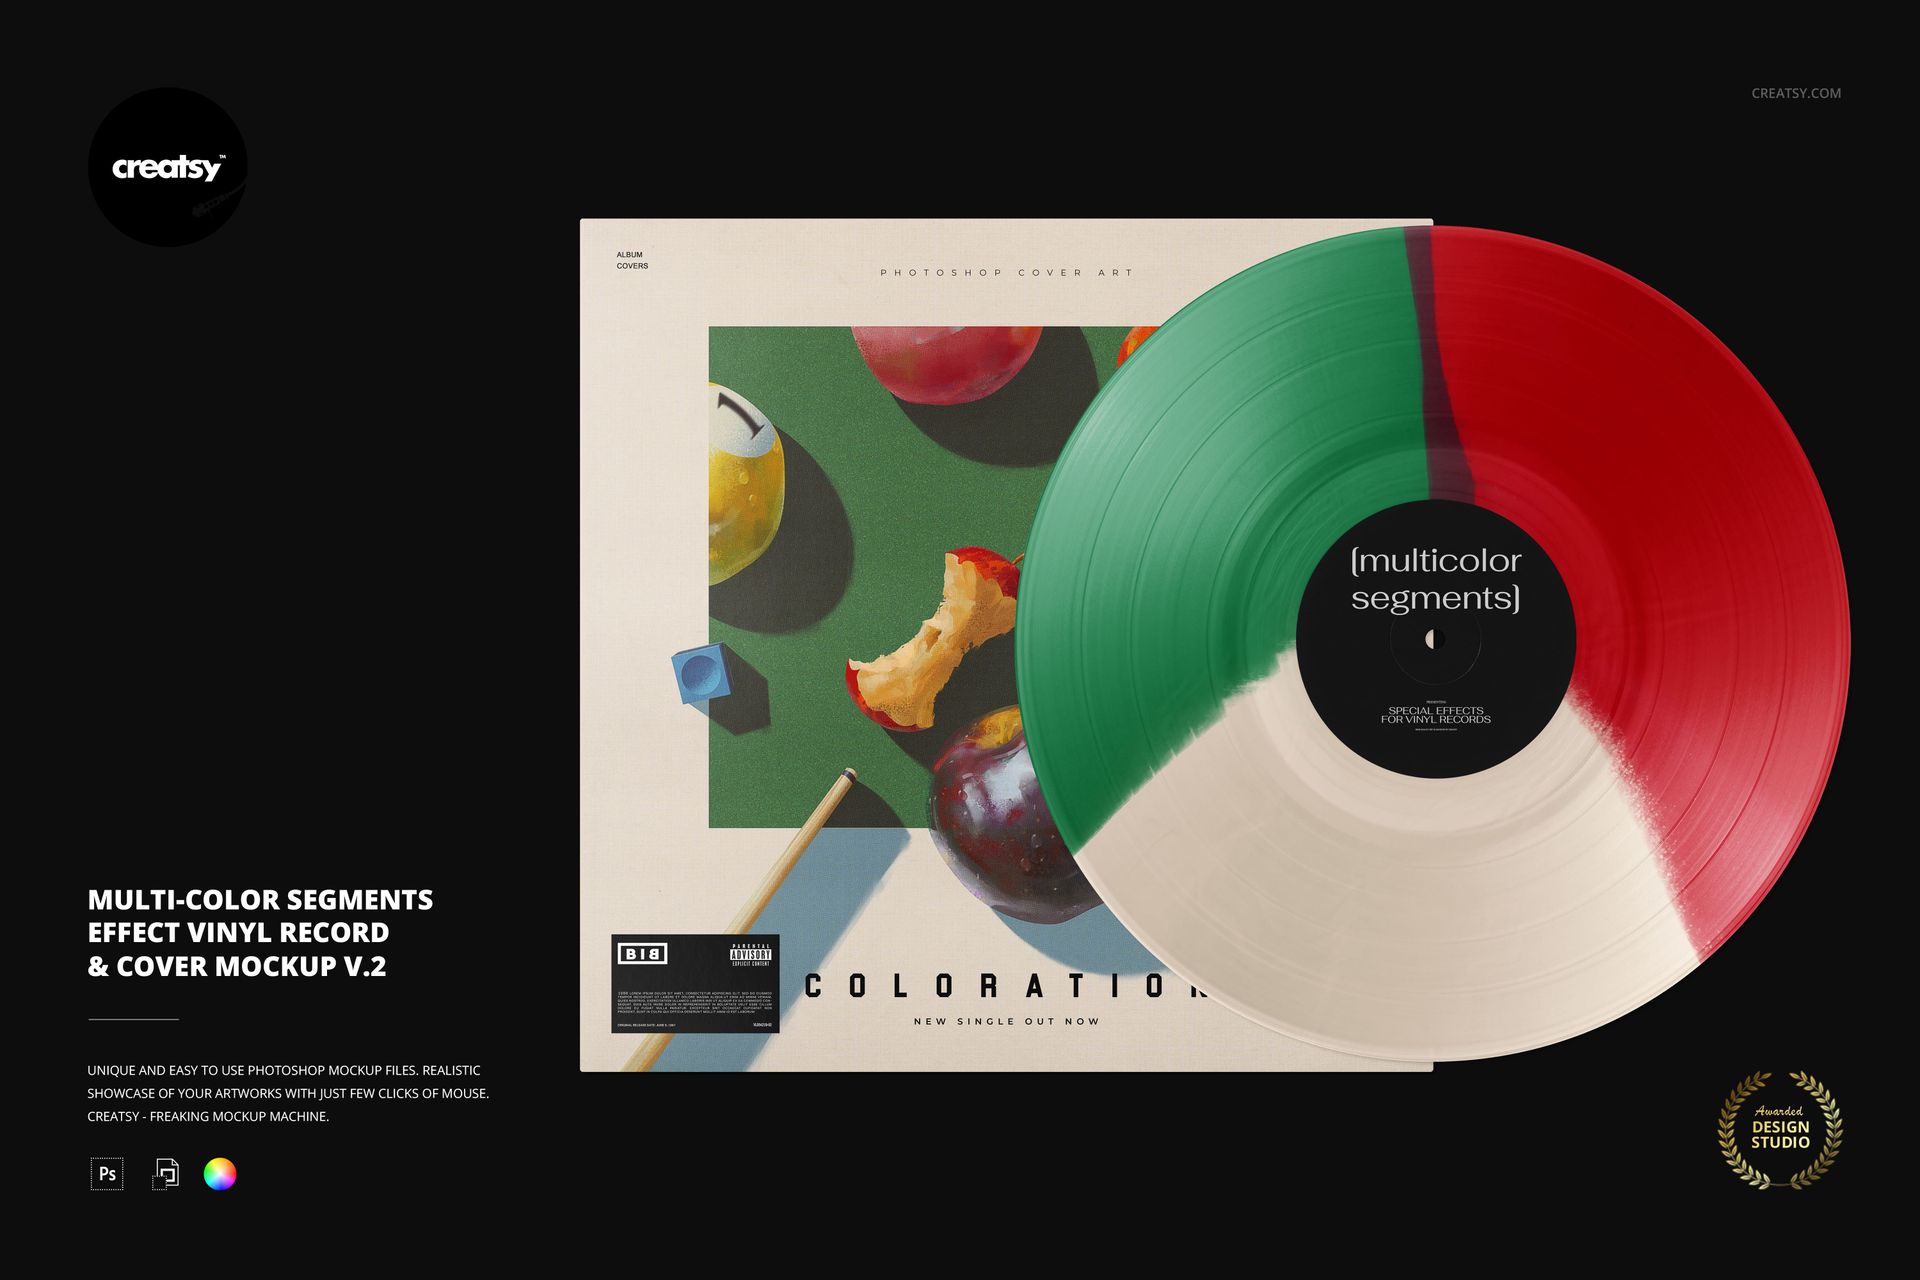
Two upper color areas meet a broad lower wedge in this tri-segment vinyl record mockup. Slightly feathered boundaries and a narrow accent at the top give v.2 its own character, while the full disc overlaps a square cover in a clear front-facing view. Present the record colors, sleeve artwork and center label as one release concept.

Inside the Download

  • 1 layered PSD mockup with a 6000 × 4000 px landscape canvas.

  • 300 DPI, plus 1 JPG thumbnail preview.

  • 8 Switzer OTF font files; 10 files total and one editable scene.

A Three-Part Effect with Soft Color Boundaries

Change the special-effect colors to echo the cover palette or introduce a contrasting lower section. Customize the center-label and sleeve designs and colors, move the cover, and edit or hide the optional movable sticker. Background color and texture changes are supported, with separate object and drop-shadow layers for transparent-background exports.

Artwork Editing in Photoshop or Photopea

Open the organized PSD in Adobe Photoshop CC2020 or newer, or Photopea. Add your designs to the relevant Smart Objects and save the edits to update the main composition. Then adjust the record colors to review how the whole package works together.

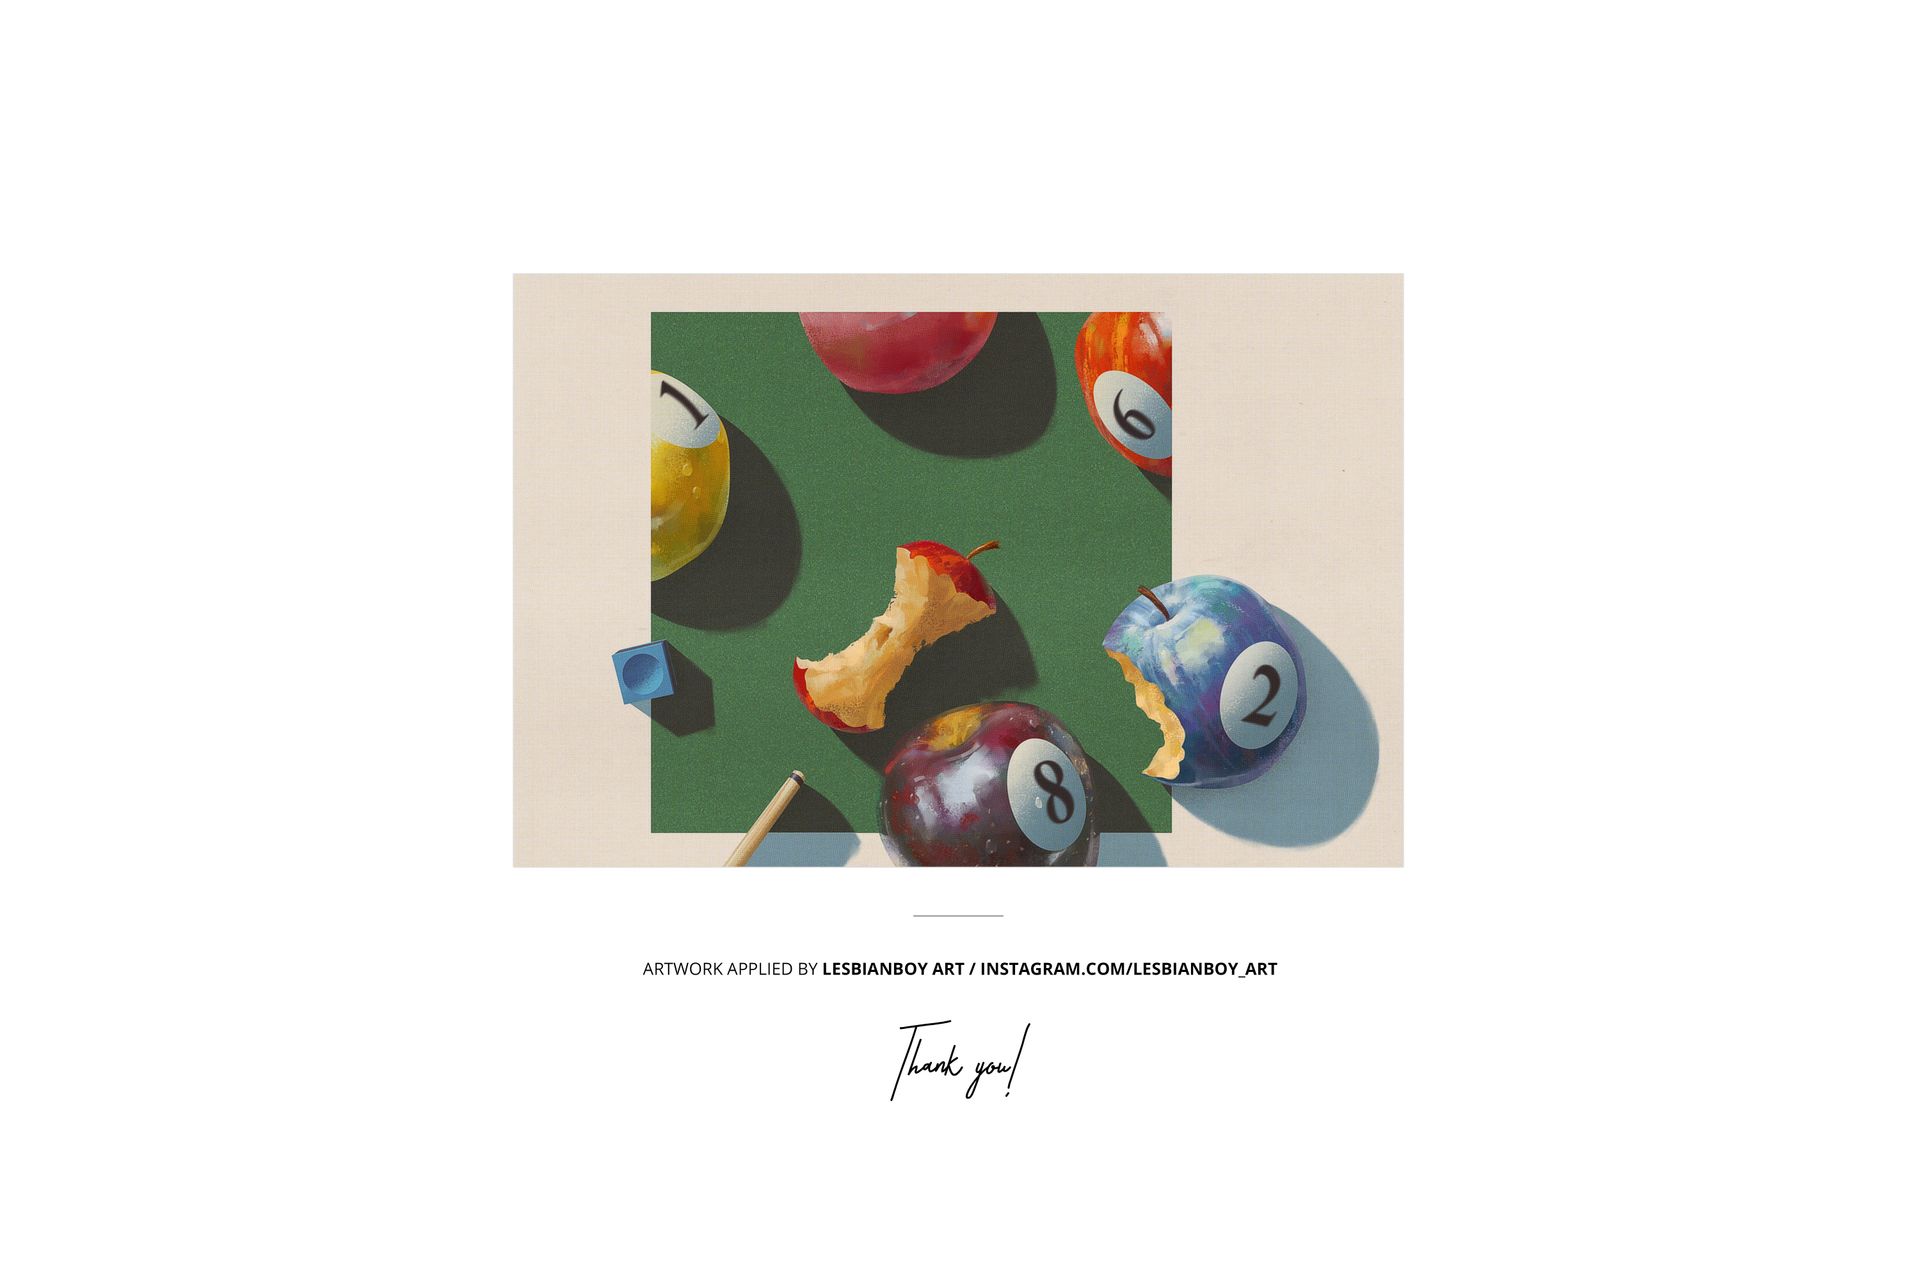
For music labels, album designers and independent artists developing release visuals, client presentations or portfolio images. This is a digital mockup, not a physical record or manufacturing template. The example cover artwork is not included.

File details

Compatibility
PhotopeaAdobe Photoshop
Package size
133 MB133 MB|139 MB139 MB
Files type
.psd, .jpg
Files size
6000x4000
TEST FOR FREE

MEET THE SHOP

Creatsy logo

Creatsy

Poland
4.8 (691)

Bring your ideas to life.

We're a family-run studio in Katowice, Poland, making PSD mockups by hand since 2016. Everything in this shop starts in our own studio. We shoot the photography, build the 3D, and put together every Smart Object PSD ourselves - then we test it, organize the layers, and only ship it once it actually works...
GO TO SHOP

HOW IT WORKS

3 clicks. That's it.

No tutorial needed. If you can copy-paste, you can use this.

  1. 1OpenDouble-click the smart object inside the PSD - in Adobe Photoshop, or free in your browser with Photopea.
  2. 2PasteDrop in your pattern, print, or artwork. Any design, any style.
  3. 3SaveHit save and the mockup wraps it in for you - shadows, folds, and lighting included.

FROM IDEA TO IMAGE

Built for real workflows

Skip the photo shoot Show your artwork on the real product type for approvals or listings - no studio, no model, no sample.

See it on the product, not a swatch Drop your file into the smart object and the scene's lighting and folds wrap around it, so you judge the real thing before you commit.

Smart Objects

Edit once and you're done. Your artwork drops into a smart object and the mockup updates itself - no masking, no warping by hand.

Perfectly Organized

Named layers and folders you can actually navigate. Find what you need, change what you want, and get out fast.

Print-Ready

High-resolution files built to hold up on screen and in print. Exact size and DPI are in this product's Details above.