ID: 1267685717 | Updated: Mar 3, 2024

Product Details

Uneven Tape Rolls Pile Mockup

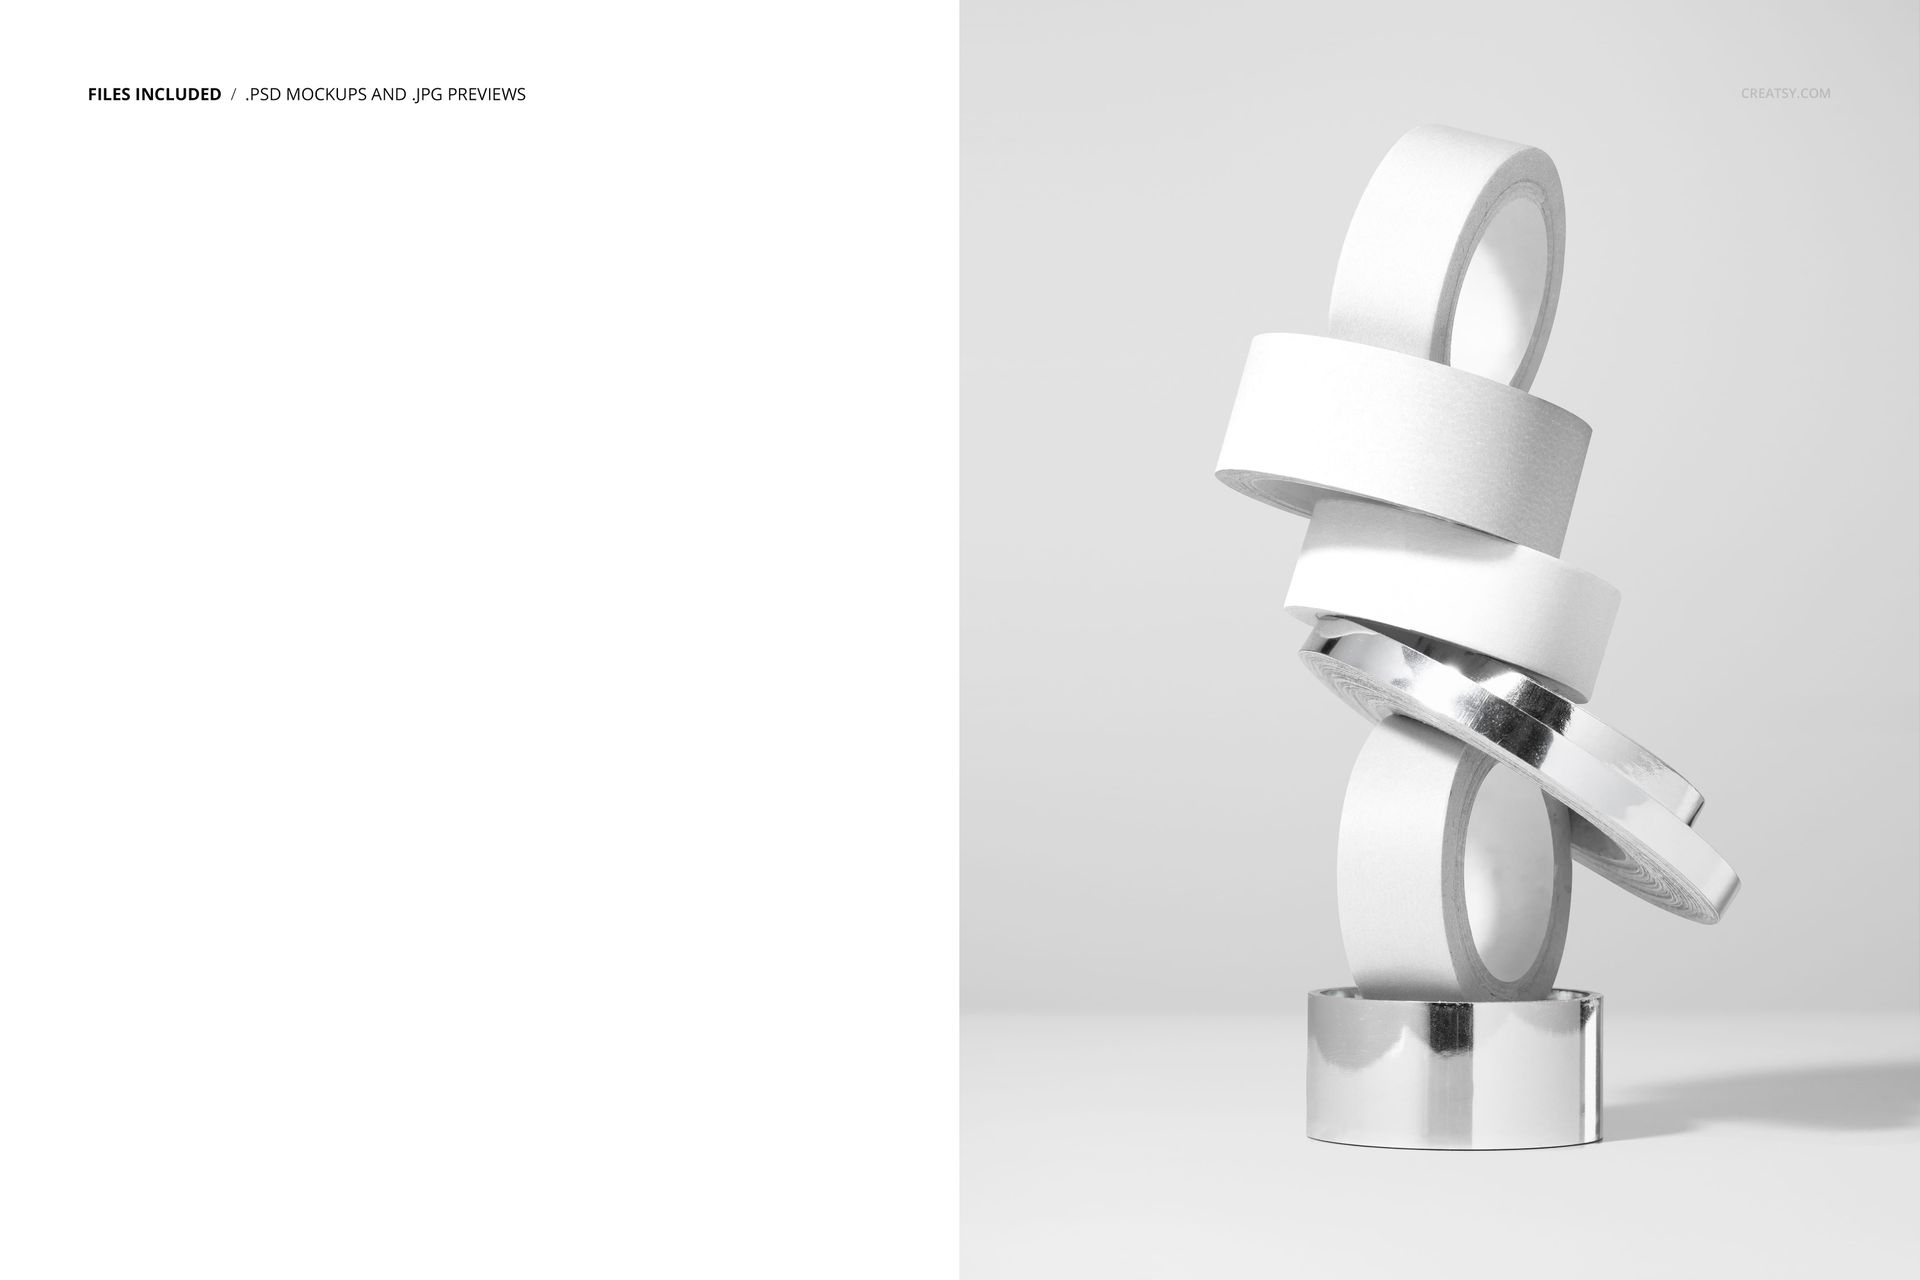
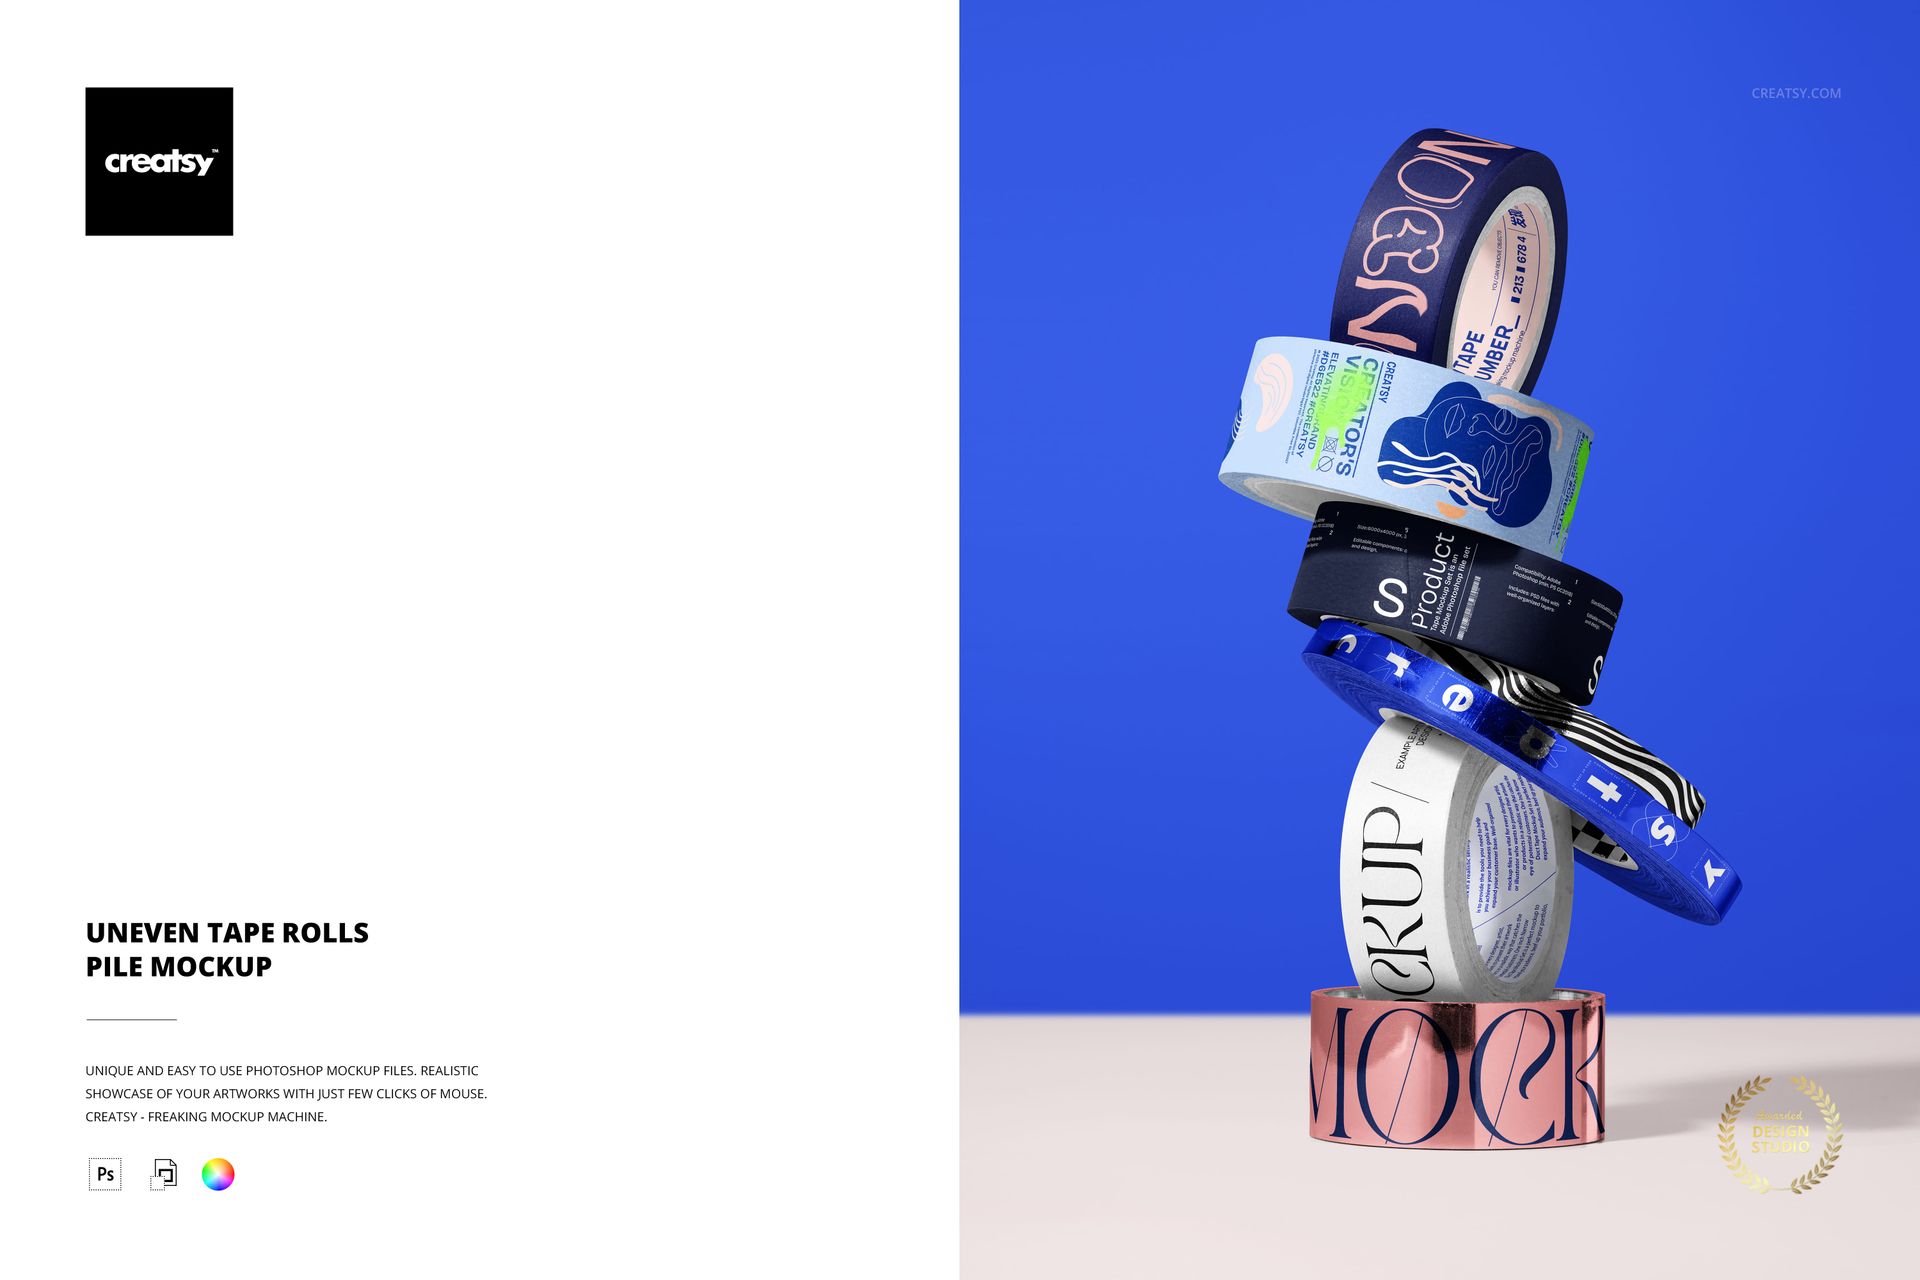
A tape collection does not have to stand in a tidy row. Here, rolls of different widths form an off-balance vertical pile, with upright circles, slanted edges and contrasting surfaces drawing the eye through the artwork. The arrangement gives a packaging identity the presence of a small product sculpture.

What Is Included

  • 1 layered PSD mockup, 6000 x 4000 px at 300 DPI

  • 1 JPG preview at 341 x 512 px, 2 files in total

  • One scene with an uneven pile of mixed-width tape rolls

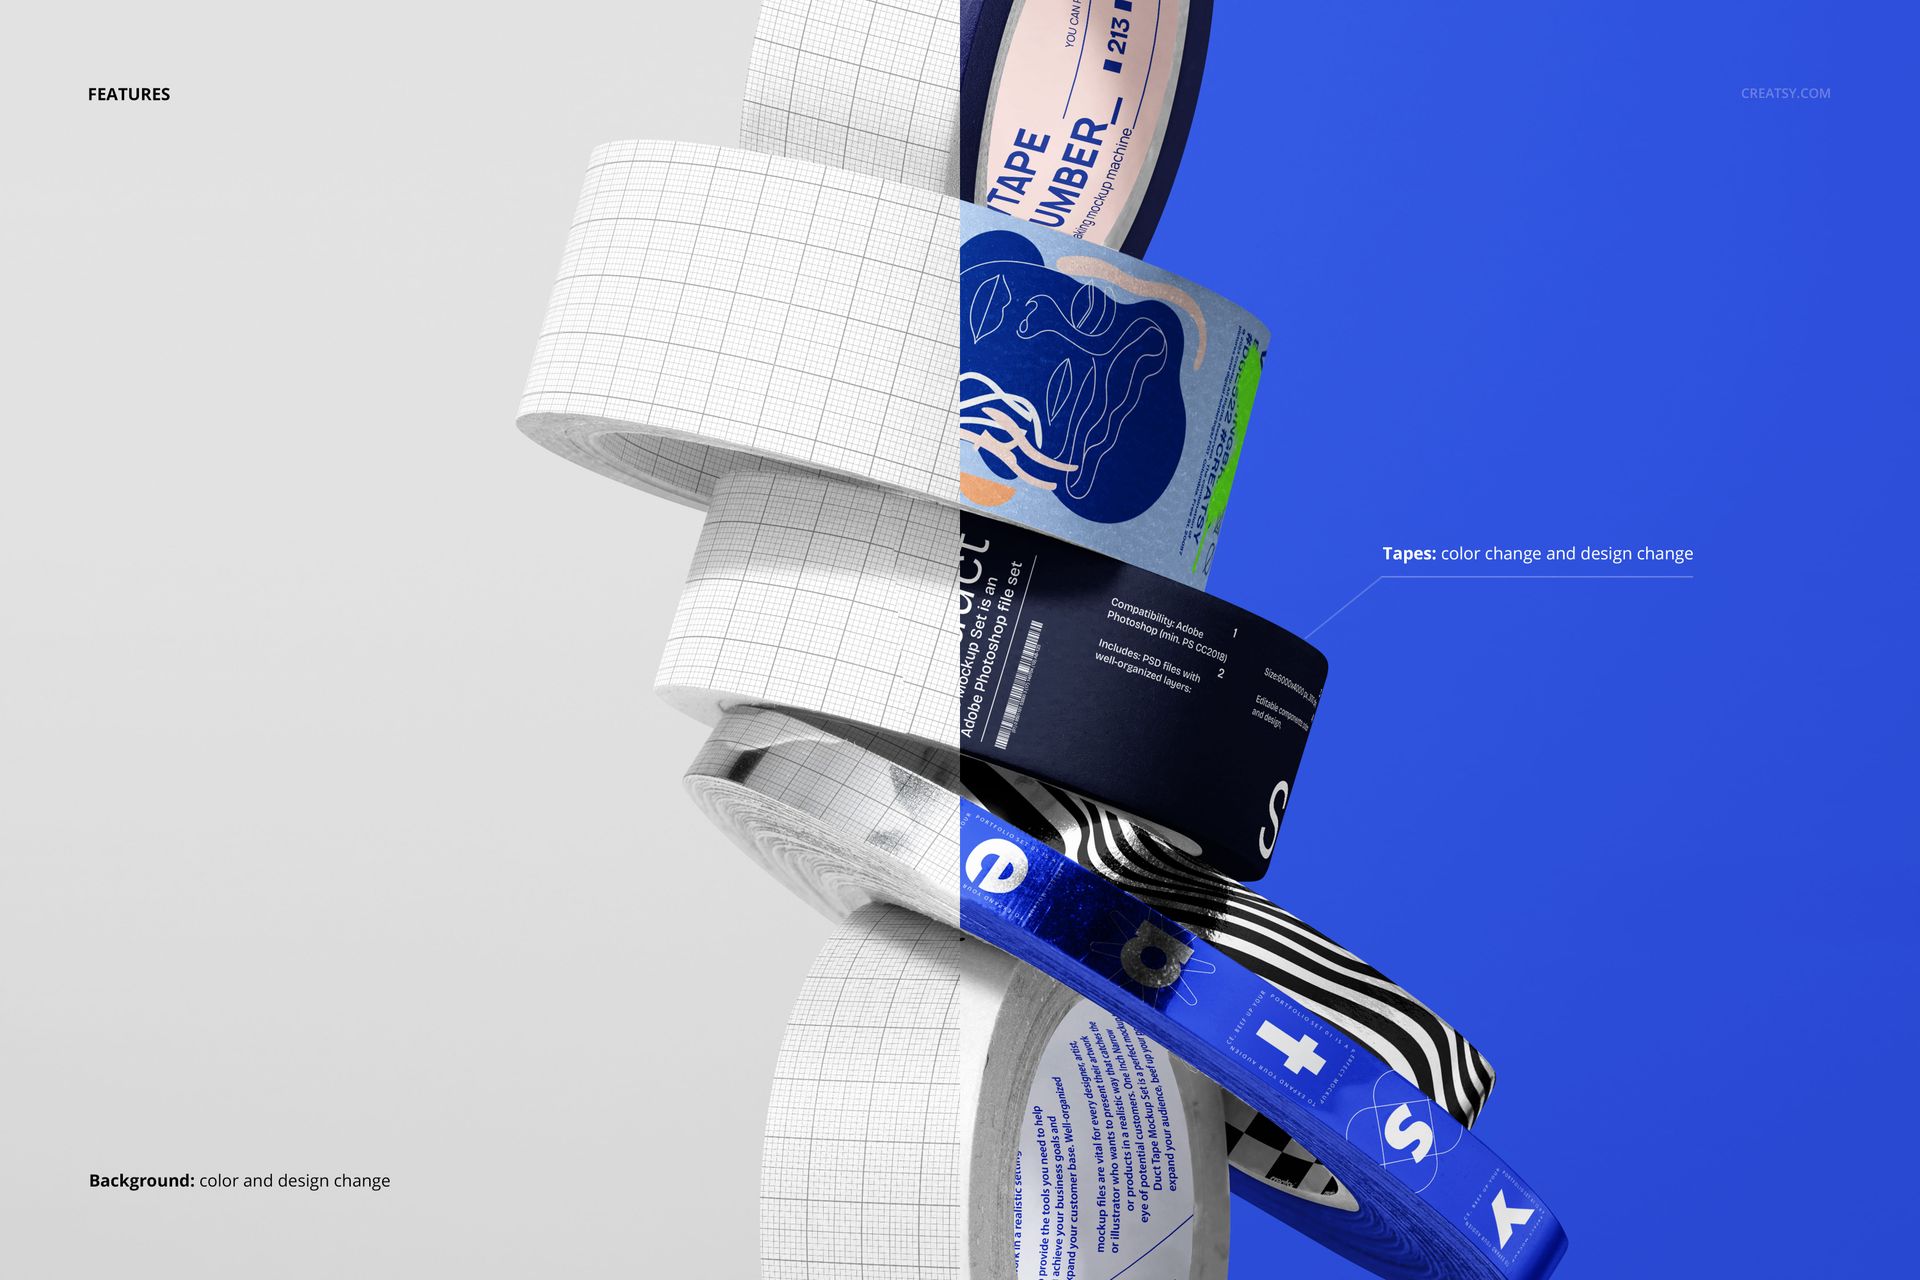
  • Tape and background color and design editing

Contrasts That Give a Collection Character

The previews combine understated white surfaces with reflective metallic-looking rolls. Broad bands provide room for illustration or expressive lettering, while narrower rolls introduce smaller graphic accents. The tilted arrangement brings outer prints and visible inner cores into the same presentation.

Easy Smart Object Editing

Place your artwork through Smart Objects in Adobe Photoshop CC2020 or newer, or Photopea. Adjust the tape colors and designs, then coordinate the background color and artwork. Organized layers help you work through the composition without rebuilding its curves and lighting.

For a Tape Collection Worth Looking At

Use the finished image in a branding case study, a printed-tape supplier presentation or a collection announcement. The irregular pile works particularly well when several related graphics need to share one frame without looking like a product grid.

This is a digital mockup, not physical adhesive tape. Sample artwork shown in the previews is for presentation only and is not included as separate design assets.

File details

Compatibility
PhotopeaAdobe Photoshop
Package size
52 MB52 MB|54.5 MB54.5 MB
Files type
.psd, .jpg
Files size
6000x4000
TEST FOR FREE

MEET THE SHOP

Creatsy logo

Creatsy

Poland
4.7 (681)

Bring your ideas to life.

We're a family-run studio in Katowice, Poland, making PSD mockups by hand since 2016. Everything in this shop starts in our own studio. We shoot the photography, build the 3D, and put together every Smart Object PSD ourselves - then we test it, organize the layers, and only ship it once it actually works...
GO TO SHOP

HOW IT WORKS

3 clicks. That's it.

No tutorial needed. If you can copy-paste, you can use this.

  1. 1OpenDouble-click the smart object inside the PSD - in Adobe Photoshop, or free in your browser with Photopea.
  2. 2PasteDrop in your pattern, print, or artwork. Any design, any style.
  3. 3SaveHit save and the mockup wraps it in for you - shadows, folds, and lighting included.

FROM IDEA TO IMAGE

Built for real workflows

Get the label signed off before the print run Wrap your design onto the box, pouch, or bottle and show the client exactly what ships.

See it on the product, not a swatch Drop your file into the smart object and the scene's lighting and folds wrap around it, so you judge the real thing before you commit.

Smart Objects

Edit once and you're done. Your artwork drops into a smart object and the mockup updates itself - no masking, no warping by hand.

Perfectly Organized

Named layers and folders you can actually navigate. Find what you need, change what you want, and get out fast.

Print-Ready

High-resolution files built to hold up on screen and in print. Exact size and DPI are in this product's Details above.